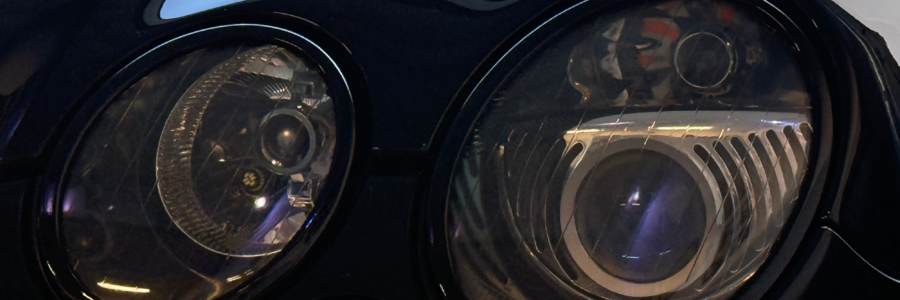
One inevitable issue with aging cars is headlight brightness/output. Back in the Halogen headlight days, solving this issue was simple. You most likely had terribly designed headlights with terrible output or old bulbs. Throwing new bulbs in generally solved the issue for a couple of months until the bulbs started aging again. The age of HID and fancy Xenon gas solved the headlight brightness issue once and for all. People went nuts for that blue glow as HID equipped cars drove by and started retrofitting HID projectors into their halogen housings. The W215 was one of these lucky HID cars, so what’s the problem with its headlights now?
Well, it seems like the Bosch projectors used in many Mercedes cars of the era, and later, suffered from major production defects, that causes their output to dramatically decline over time. The specific issue is that the metal coating used to make the projector bowl reflective burns over time, essentially making the headlights completely ineffective. Unfortunately, they cannot be repaired or painted, as the manufacturing process is complicated and expensive. So, one could simply buy new projectors and put them in, right? Not really, as newer versions have a different circuit board that requires custom electronics to make them work with the existing wiring.
Morimoto Mini D2S 5.0
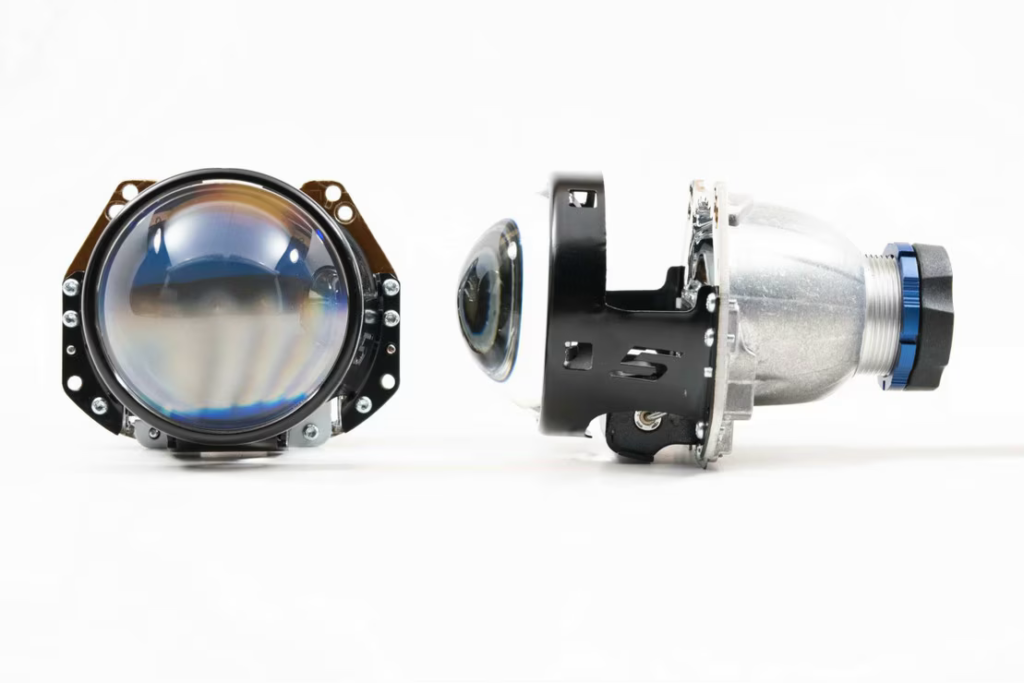
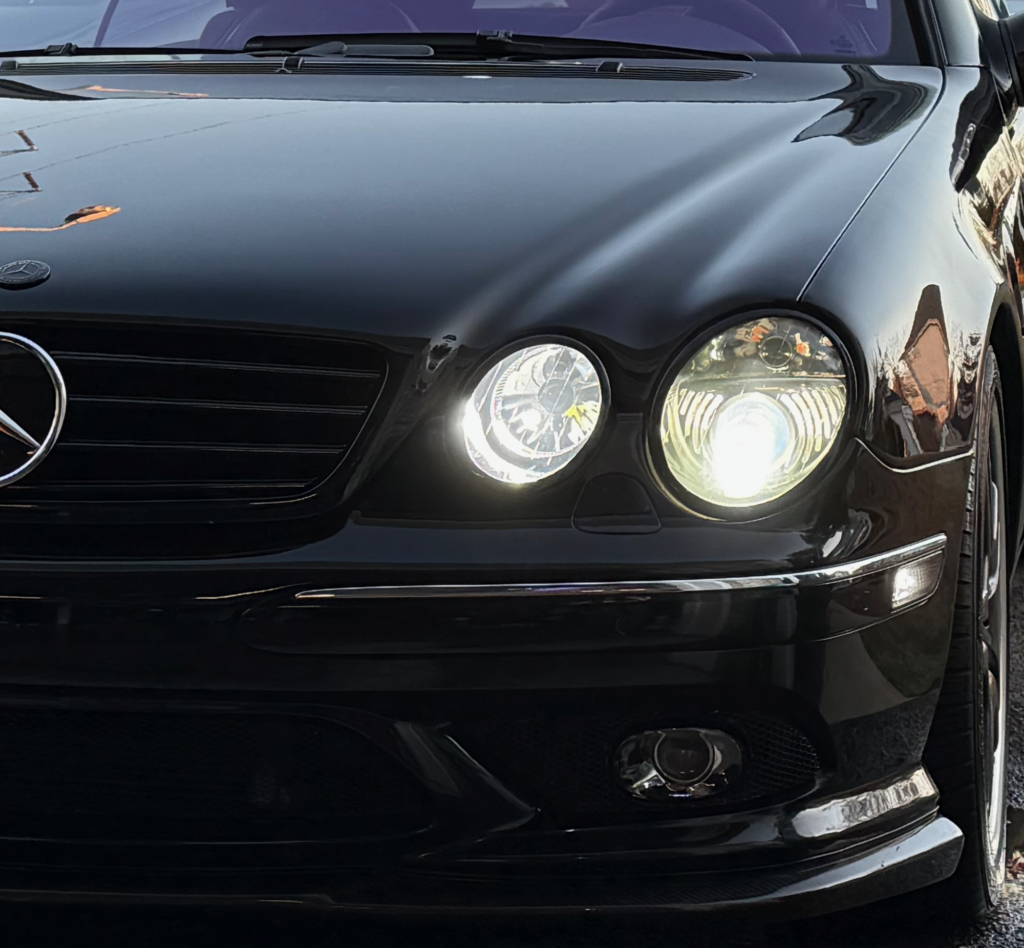
These projectors are much better quality than the OEM Bosch projectors and should provide a much better night driving experience. Some of the enhancements include much better light distribution without hotspots and an anti-reflective lens coating that improves light output. The wiring is compatible with the headlights and with some “minor” modifications we should be able to install them in the headlight housings…right?
Headlight Housings
Opening the headlight housings is a straightforward process. Remove all possible components (ballast, bulbs, etc.) and bake at 200F for 10 minutes and pry open with your favorite tool. Remove as much of the butyl glue/sealant as possible in the process.
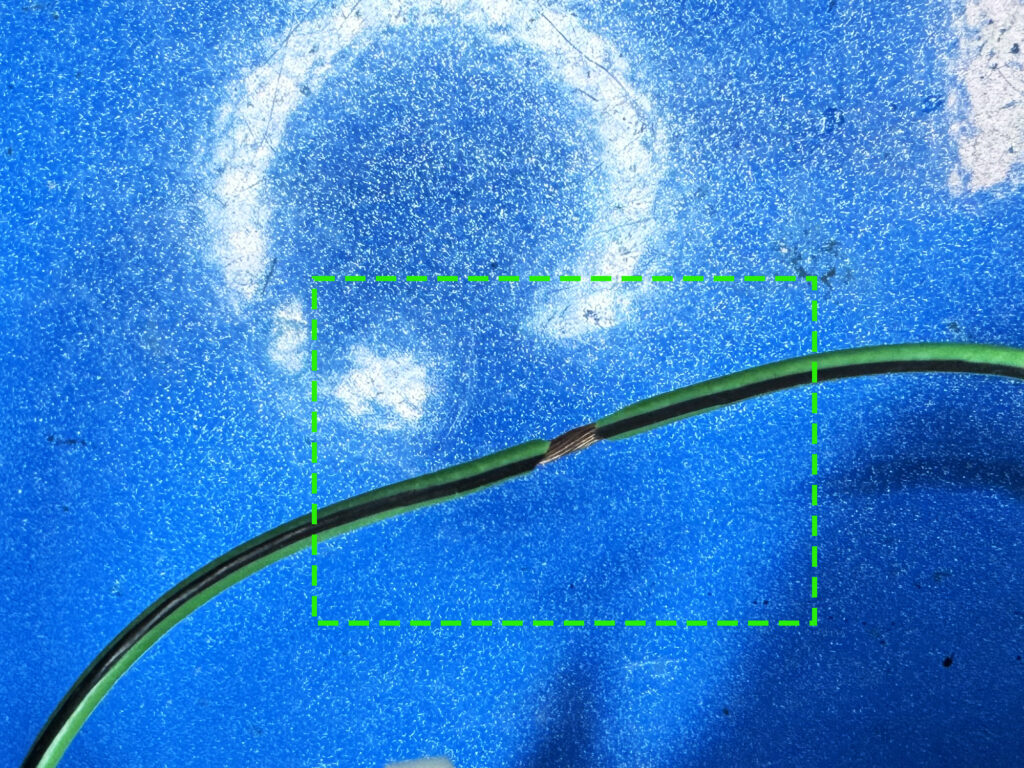
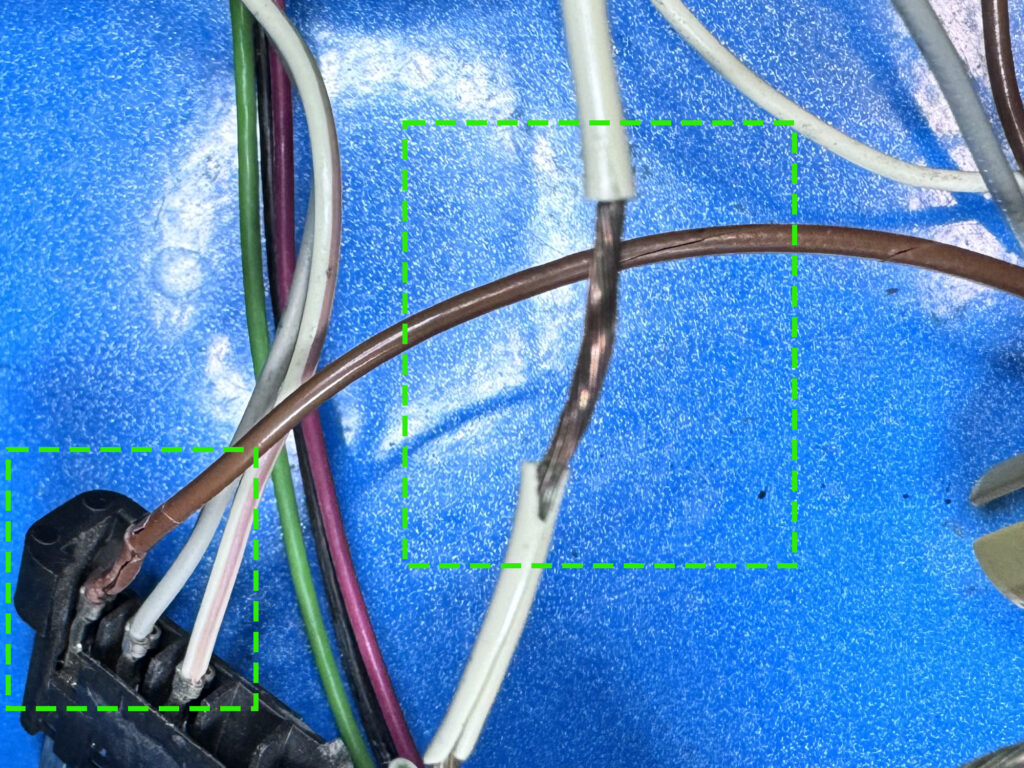
Once open you will notice that the wiring is a disaster because of the constant heat cycles or poor quality. Either way, this needs fixing, or you can invest in a large fire extinguisher and keep it handy. We decided to disconnect connectors, remove existing wiring at the crimps and solder new wiring to the connectors. Sure, you could try to identify all connectors used and buy new ones, but many of them are not manufactured anymore and it would be a futile effort.
Bulb Mounting
The OEM bulbs have a plastic ring retainer that in turns serves as the mount for the igniters. This is not exactly standard, or widely used, so we will need to make some modifications to our projectors to get everything installed. The threaded piece needs to be shortened to allow for the plastic retaining ring to screw onto the new projectors. In order to get that accomplished we need to trim down a pair of the blue rings and glue them inside the OEM retaining rings.
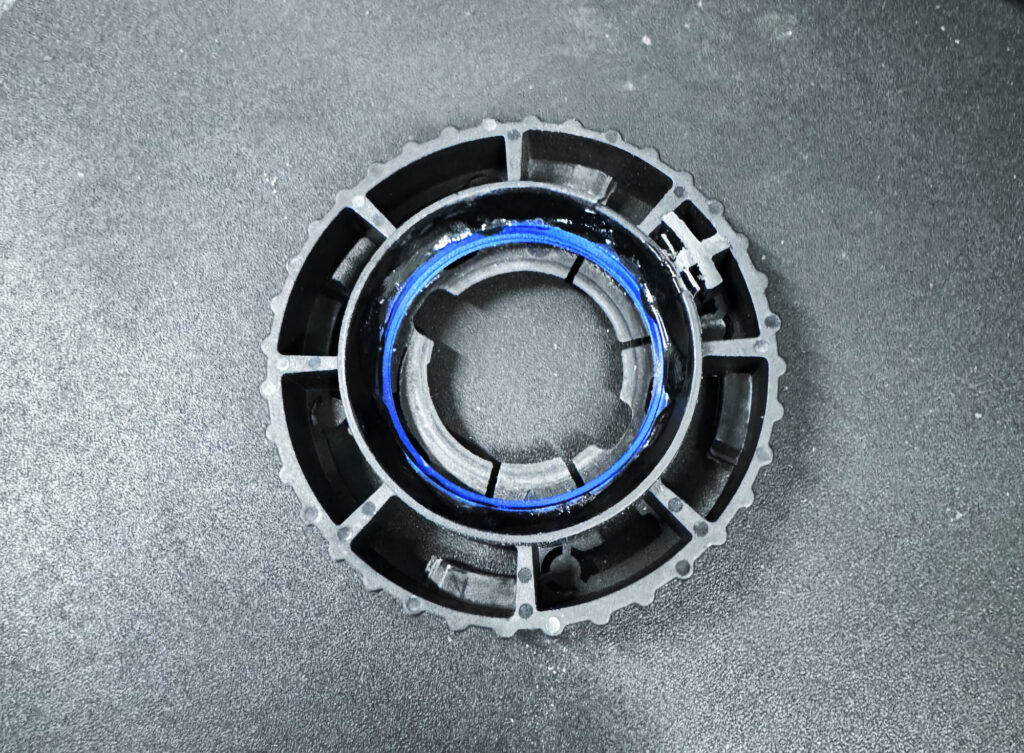
We can then use an additional blue retaining ring as a stop to get the OEM mount to screw on just perfectly to hold the bulb in place.
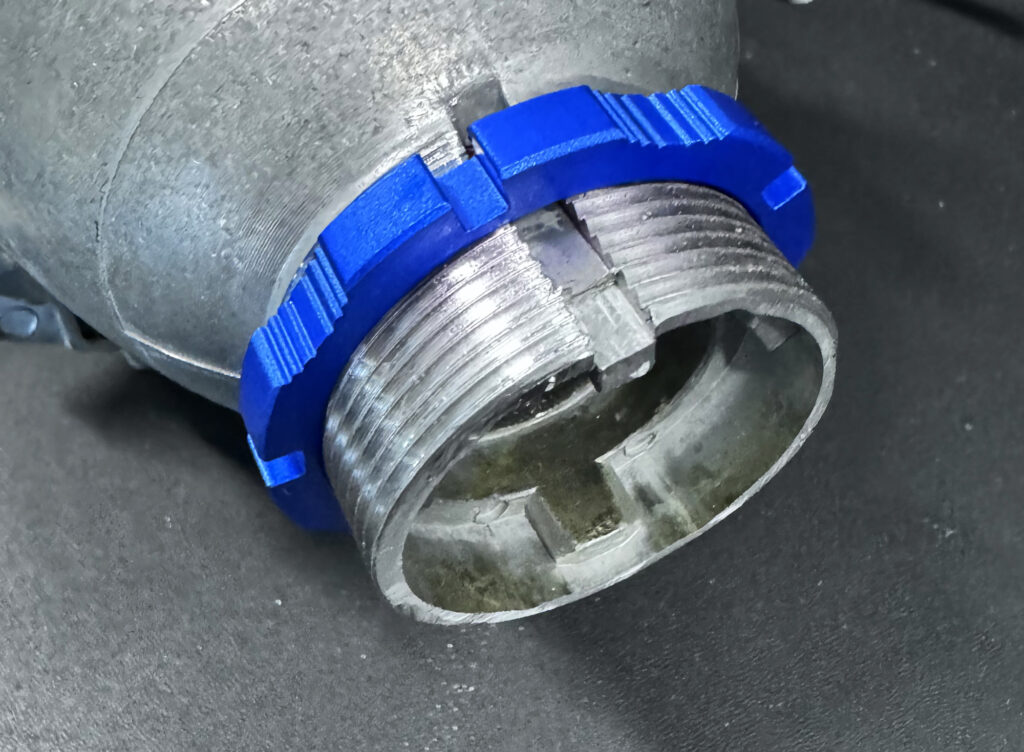
Projector Mounting
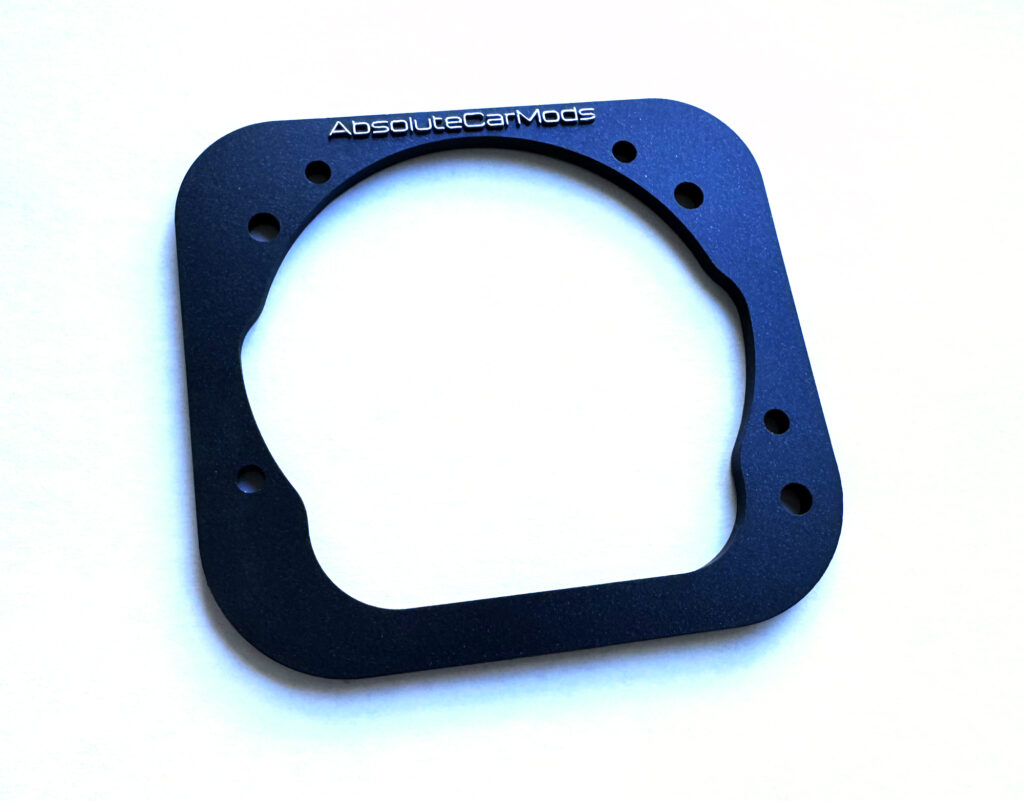
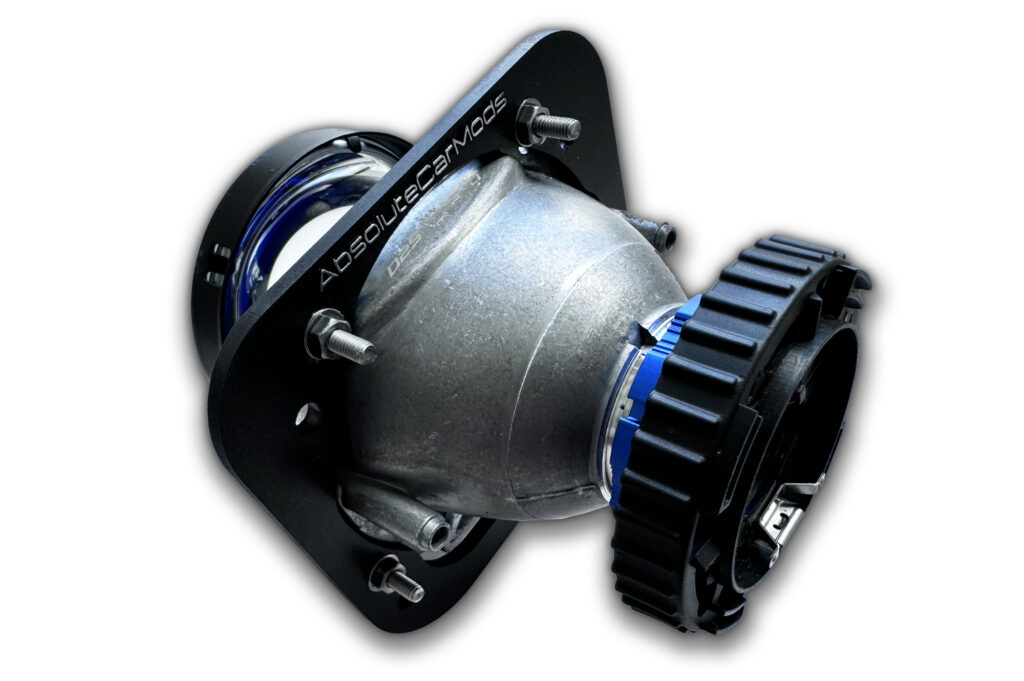
This is where the bulk of the work is and where previous retrofitting experience comes in. The projector must be installed just right, to make it align with the rest of the headlight housing elements and properly leveled with the ground once the headlights are installed back on the vehicle. We took the high-tech approach, and scanned the headlight housing, allowing us to accurately design a projector mounting bracket. The headlight housing (chrome) needs to be extensively trimmed and cut to make sure everything fits properly. The chrome cap that mounts onto the projector also needs to be trimmed and modified to make it fit. A few prototypes and prints later, we have a complete projector assembly.
Paint?
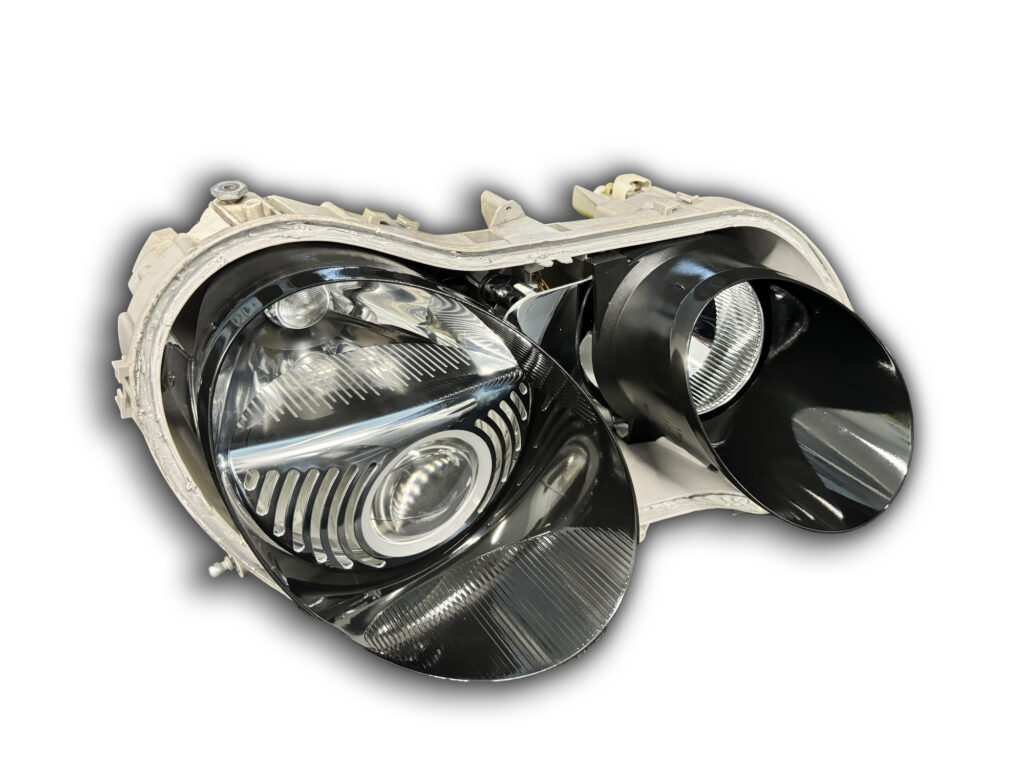
This is where you decide if you want the chrome pieces painted or not. We went with black paint, leaving some chrome accents…as completely black headlights are weird. We also restored the headlight lens caps with the usual process (clean, sand and clear).
Reassembly
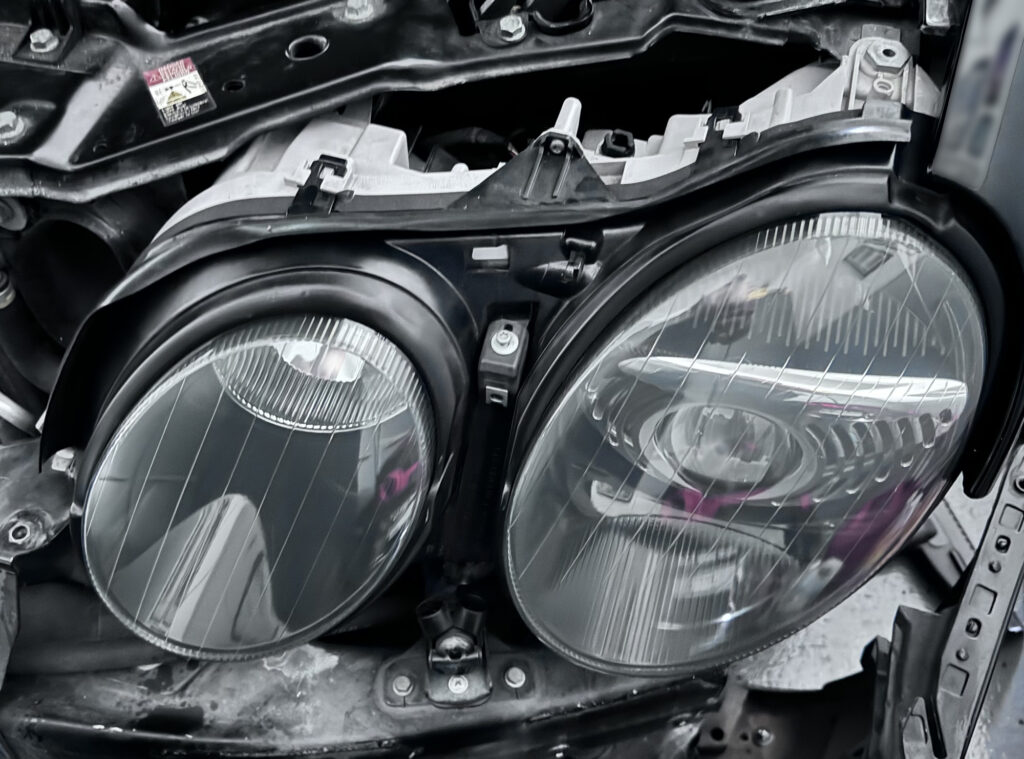
Is generally the reverse of disassembly. So, get your fresh butyl strips and place them in the groove around the headlight housing. Bake at 200F again and press together until properly sealed. Butyl strips can be purchased in many places, including Amazon.
Gaps Everywhere
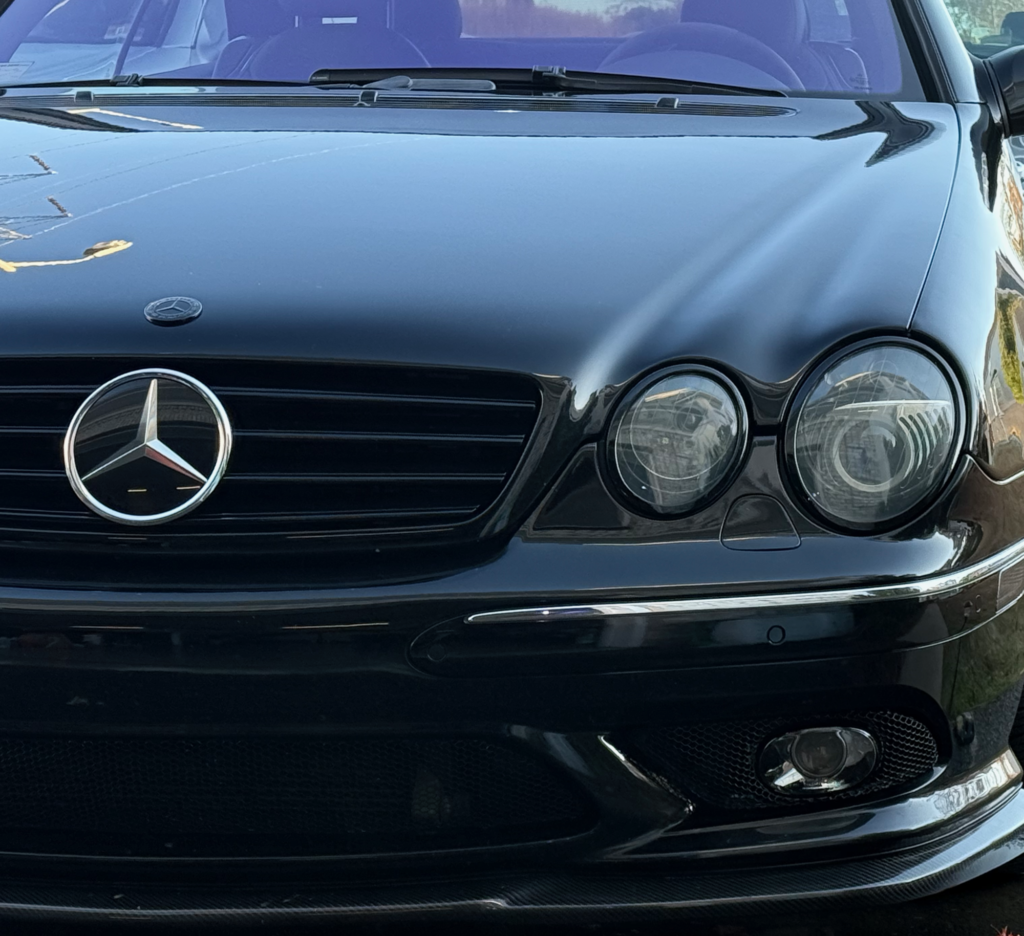
If you’re like us, and hate crappy fitment, get some chrome headlight rings to fill the abominable gap that the W215 has between the headlights and the bumper. Paint those to match the rest of the car so your vehicle doesn’t look like it’s wearing glasses, and you should be set.
Q&A
If I simply change the bulbs, will this fix my headlights?
No, the reflective part of the projector bowl is not reflective anymore. This is what throws light on the road in front of you.
Why not just get new Bosch projectors and install those?
Because output is bad, and you still need to make a circuit board to get the Bi part of the Bi-Xenon projector to work.
Why not just get Chinese bootleg Bosch projectors and install those?
Because output is terrible, and you still need to make a circuit board to get the Bi part of the Bi-Xenon projector to work.
Can you swap LEDs instead of the D2S bulbs?
Yes, but there are no versions that properly work with CAN and longevity is much shorter than D2S bulbs. This is definitely a project we are keeping an eye on.
Do you offer this as a service?
No. However, if you need a projector mount for this specific projector, let us know. Those can be custom made to order.
Why Morimoto projectors?
Because dimension wise, they are a close fit, especially for the projector shroud, and they can accommodate the weird OEM bulb mounting solution. They are also good quality and have great output.


