

So, we decided not to use a keyboard or simple buttons. Who saw that coming! So why the complication? Is it for the views? Is it for the visuals? Or do we simply like overcomplicating things. Well, let’s take a look.
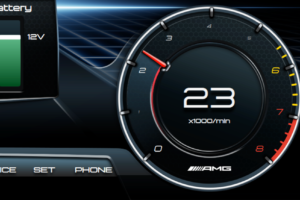
OEM Controls
The controls on any steering wheel run into a very basic limitation – the wheel needs to turn. How do you run a bundle of wires through something that turns? Do the wires turn with it? Do you run the wires through the middle of it? Not really. ClockSprings have been around for quite some time now and they convert your wiring to copper tracks that can accommodate a certain number of steering wheel turns. Problem solved, well at least partially.
Our overly complicated controls that need somewhere around 10+ wires would mean an extra 10 tracks in the clockspring – something which we do not have. The OEM buttonzs work on a simplified approach, by measuring resistance across a wire (so only 1 track needed). Every button has a specific resistance value, so the steering wheel controller knows exactly what was pressed. Unfortunately, this is not an approach we can take, as our wires need to transfer data, not resistance values.
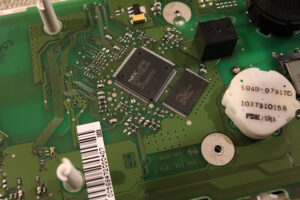
BLE
Thankfully, we are now in the future and can transfer data without wires. We still need power and ground for our setup but that’s already provided to the steering wheel. So, we can use Bluetooth or it’s weaker cousin BLE to get in touch with our instrument cluster. That takes care of the connection part, but what about the actual action/button part.
Touchable
Physical controls have their advantages in a car, and we’re all about that physical advantage. However, complicated controls do benefit from a flexible interface that is not limited by physical space. Enter the touch control, well the touch screen to be more precise. We can have custom control layouts for different areas of the system, while maintaining a minimal physical footprint.
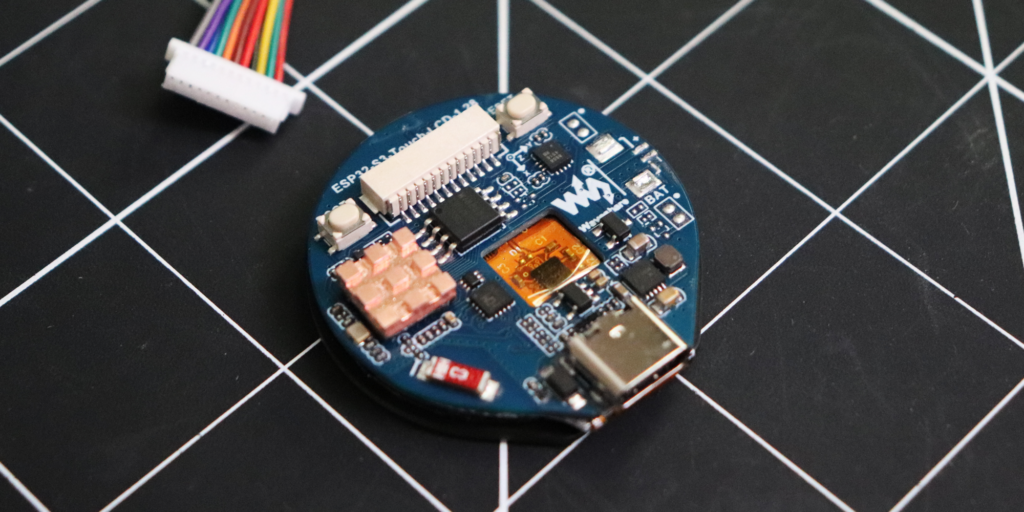
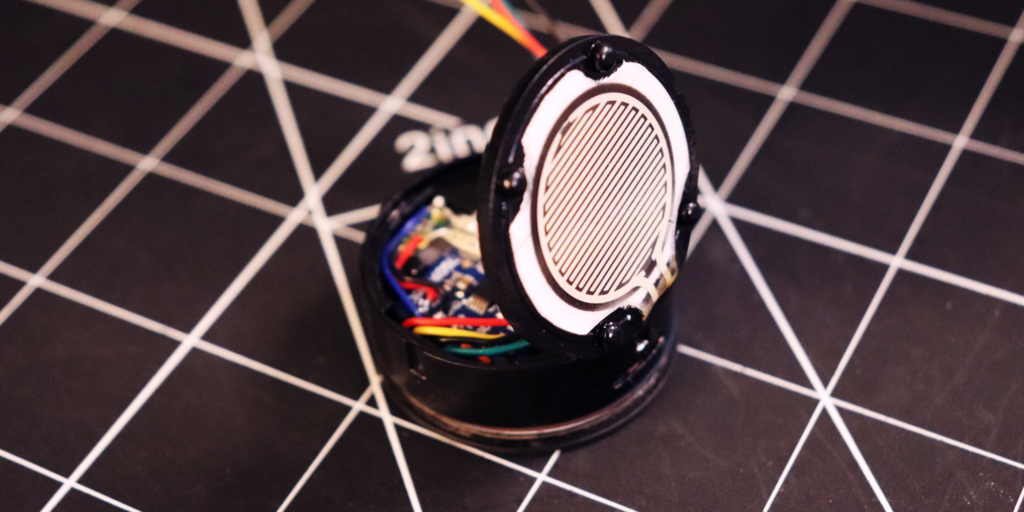
Hardware
Thankfully we do not have to create anything from scratch here, as there are dozens of nice options out there. We decided to go with a dual core ESP32 with a capacitive touch screen and a 1.28-inch display. This device also incorporates Bluetooth and WIFI, making it a beast for our meager button needs.
That takes care of the visual part but what about the “touchable” part. How can we make this better and easier to use in a car environment…Well simple, we need to communicate two different aspects to the user:
1 – Button selection – aka is your finger on a button or not?
2 – Button presses – did I press something there?
This can be accomplished by splitting up the functionality into two different parts and providing different/specific feedback for each part. Right off the bat, we’re going to need a haptic engine type device and another device to measure button pressure – button clicks are for old people!
Unfortunately, this implies that the button assembly will need to move a little to allow for button pressure/feedback to work correctly. This throws us into the realm of small tolerances and prototype printing.
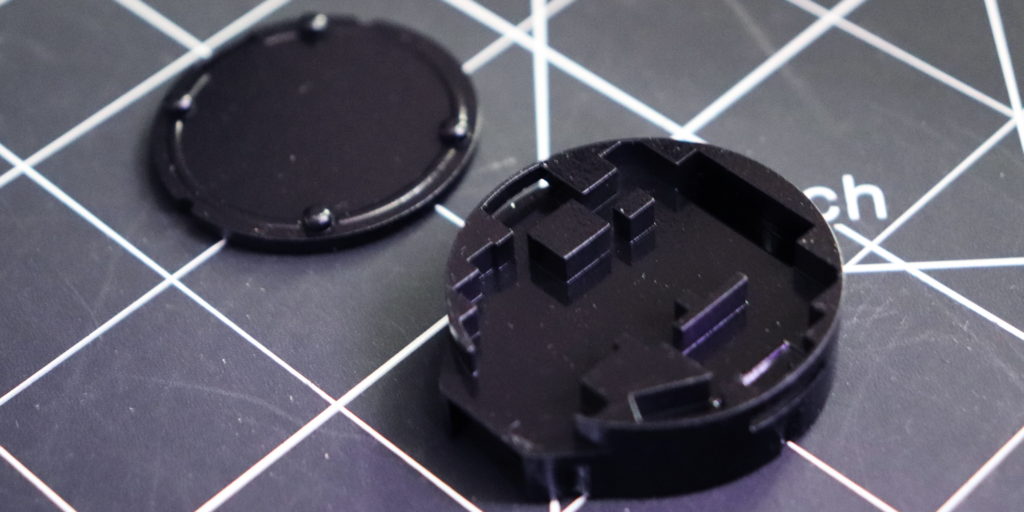
Design and Prototype
The design was made with ease of assembly in mind as well as long life and incorporation of all aspects mentioned before. The main unit of the device effortlessly glides up and down on predetermined tracks, which means that this device really doesn’t have any moving parts. The only moving part is self-contained, which should make durability quite high. This also means that the haptic feedback and presses are completely silent. No squeaks, cracks or other annoying sounds.
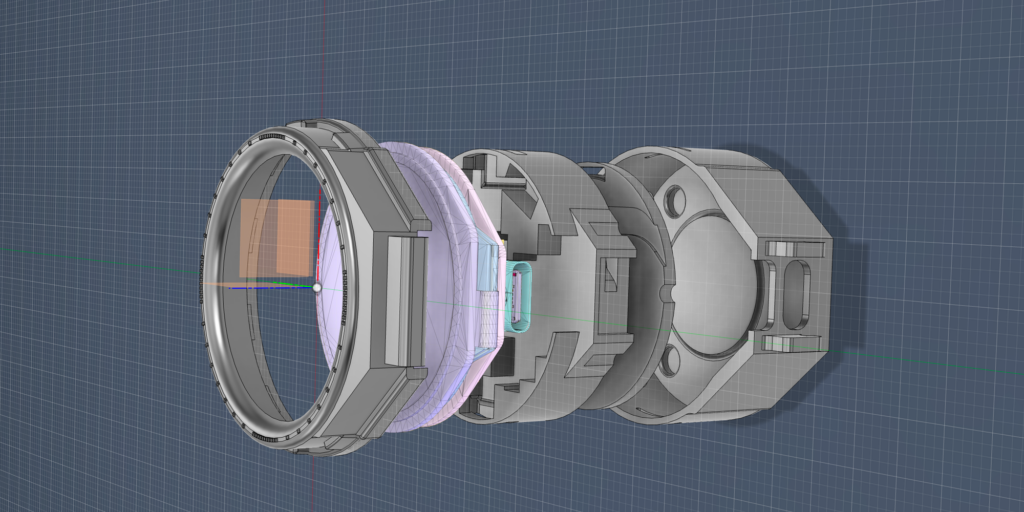
We went through several iterations, fine tuning the distance the screen moves as well as the spring rates. Some of these iterations were saved so we can produce different versions of this device, some with more travel, some with less, some with a more robust feel and some with a softer press.
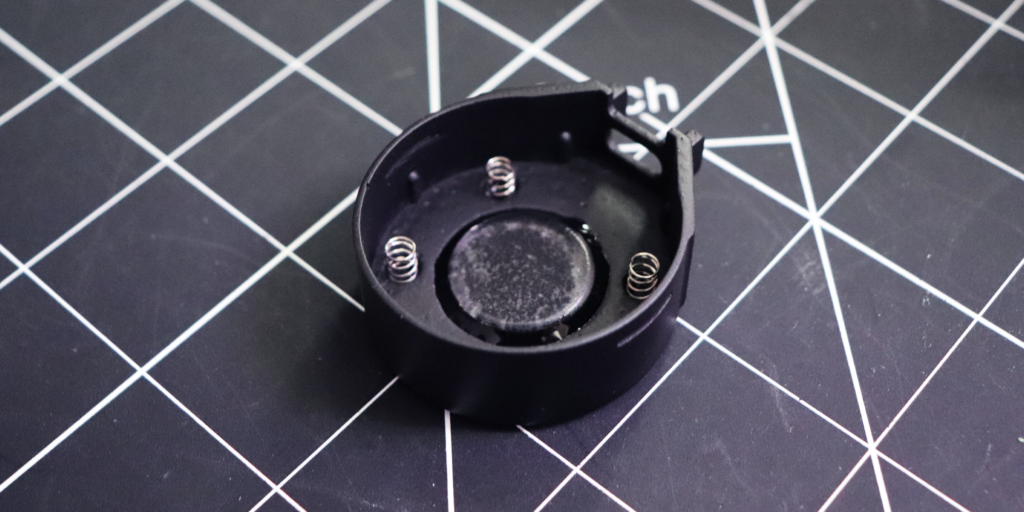
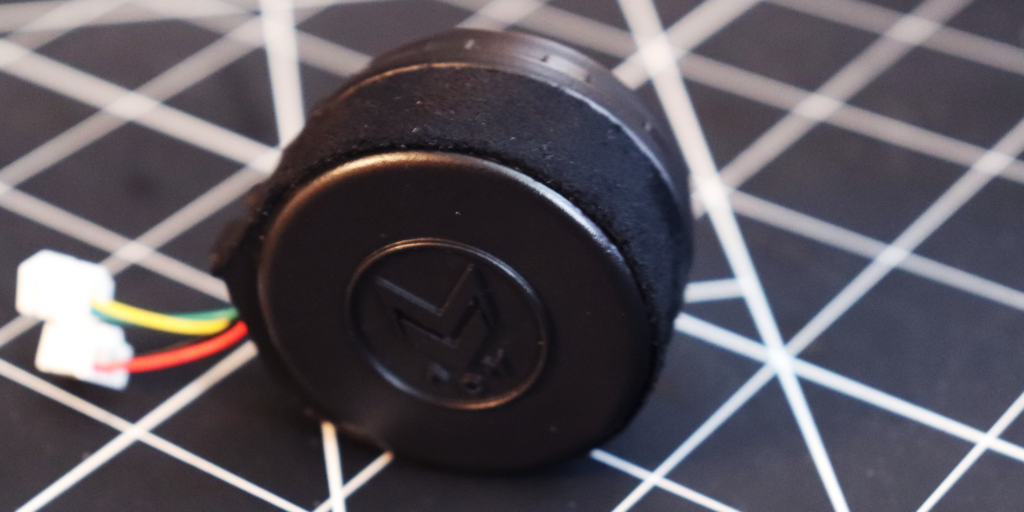
The base of the device houses the springs, which are mounted securely as well as a silicone pad that provides the press/touch contact point. This pad is very heavy duty and should last a very long time. The base also provides two ventilation slits, aligned with the CPU and heat sink location.
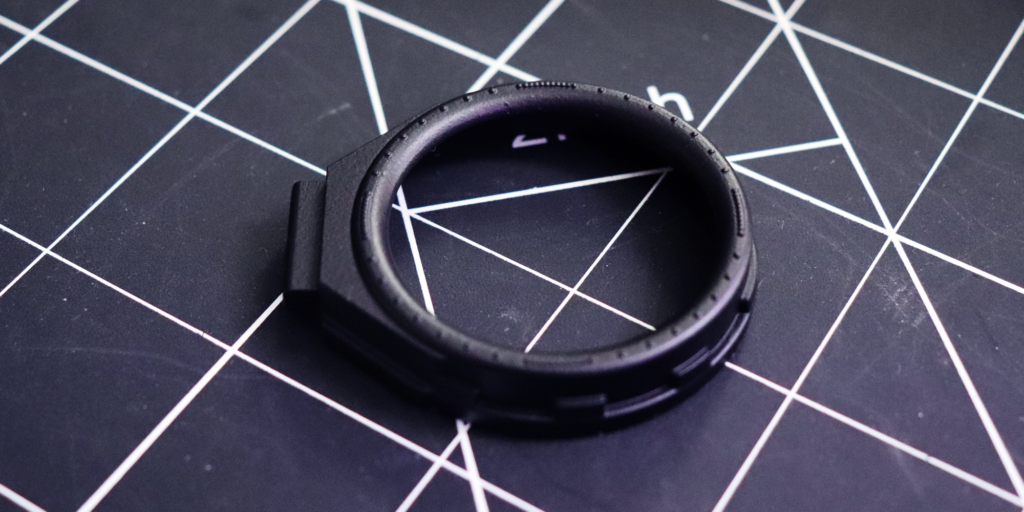
Due to the small tolerances involved (0.25mm) assembly will rely on special glues and silicones. 3D printing will also take place on a resin printer (to achieve the tolerances and detail involved), using our special blend of resins to ensure strength and temperature resistance similar to ABS plastic. Unfortunately, this makes the reparability score of the device roughly zero. If large manufacturers can get away with it, why not us. Jokes aside, we prefer a sturdy device feel over reparability. What good is reparability if the button creaks every time you press it.
Final Assembly
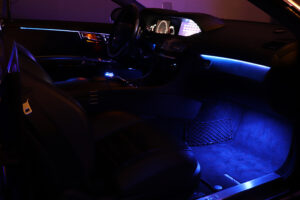
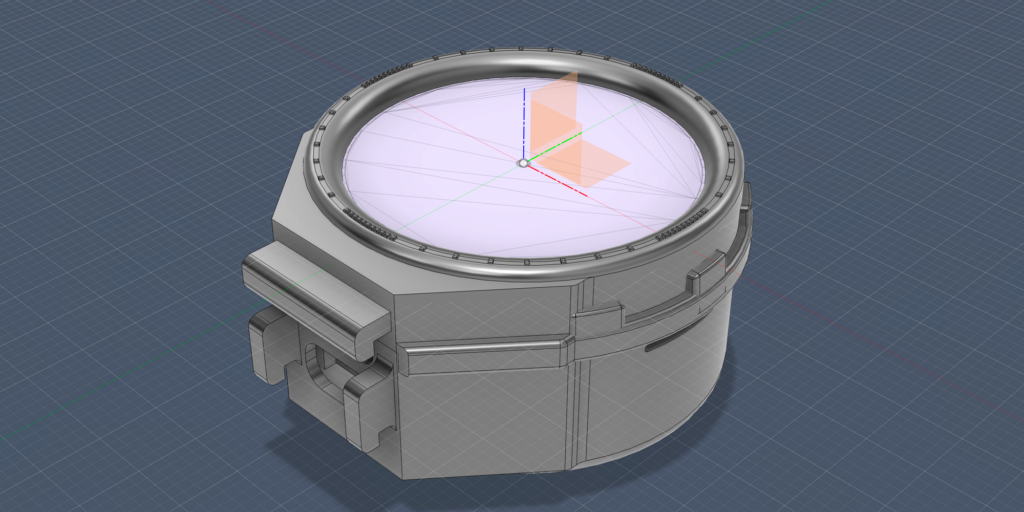
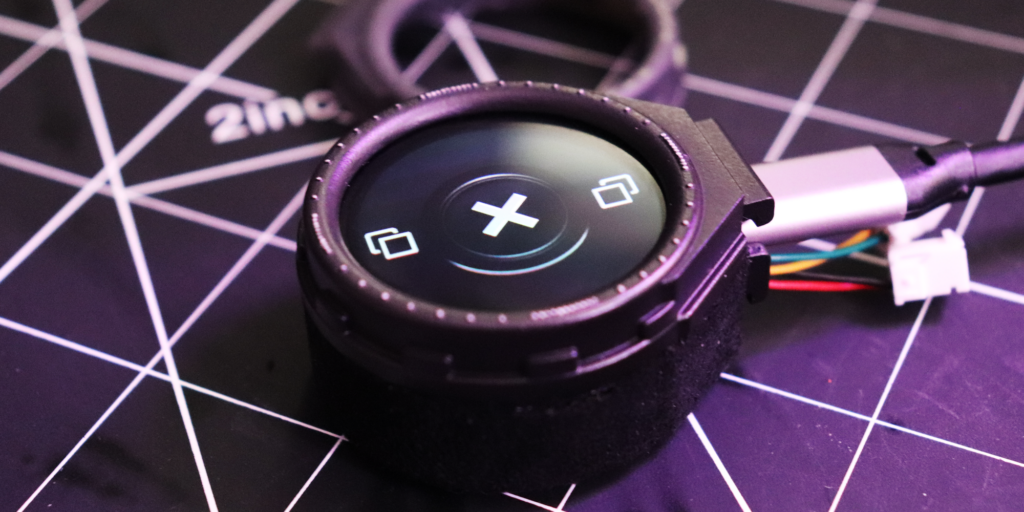
The version for our project car has stiffer spring rates and about 1mm travel which is enough for positive feedback and ease of use (no long button presses). The outer rim has a variety of tactile dots that should make it easier to feel the orientation of the button (up/down/left/right). These were painted chrome, to contrast the anthracite overall color of the device.
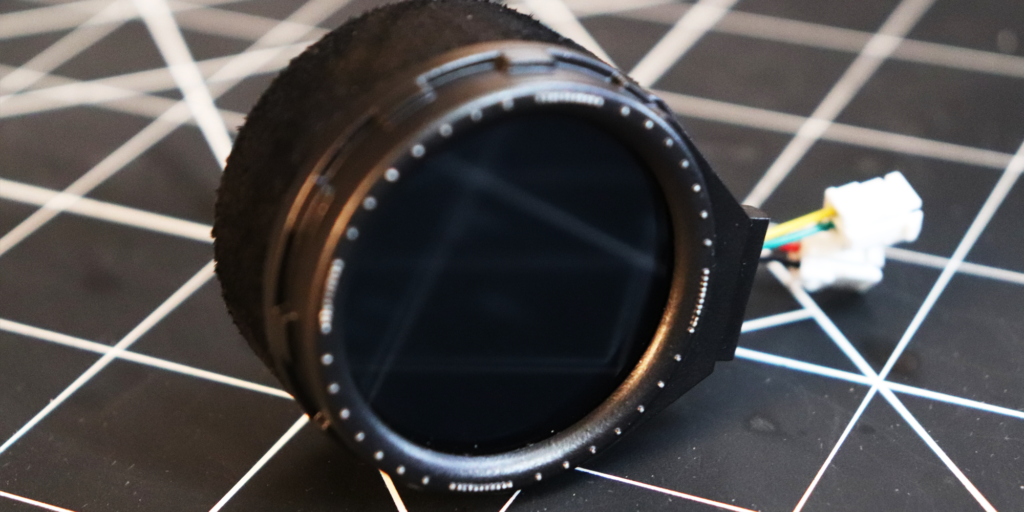
We have also added a little Alcantara-like trim, to match the real Alcantara trim on our project car’s steering wheel.
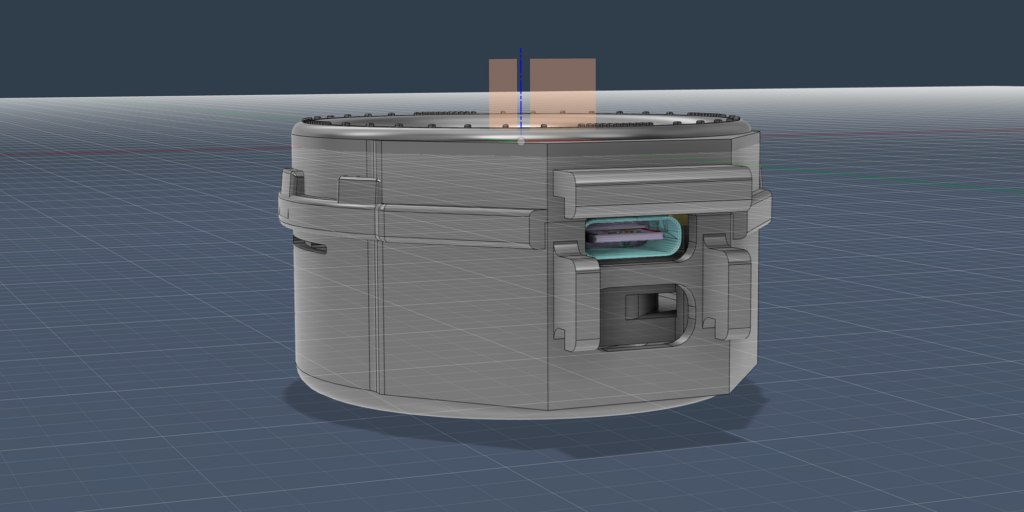
Access to the USB port of the device is maintained, making future updates possible. Power as well as several other connections are on custom wiring/connectors adjacent to the USB port.
The instrument cluster project calls for 2 of these controls, on either side of the steering wheel. We decided to standardize the actual control itself and design a separate base for each steering wheel this will be attached to. So, installation between different platforms should be simple without require a complete redesign.
Software
Is where the magic happens, in this case it’s the firmware. Turns out nothing is simple in the software world, and the adventure of getting this to work as intended will be covered in another article.