
Removing interior panels that were not really meant to be disassembled is always a gamble, especially on an older, sun beaten car. We realized this was going to turn into a much larger project when random plastic bits started snapping off during disassembly. However, we pressed on as the nasty old fabrics had to go.
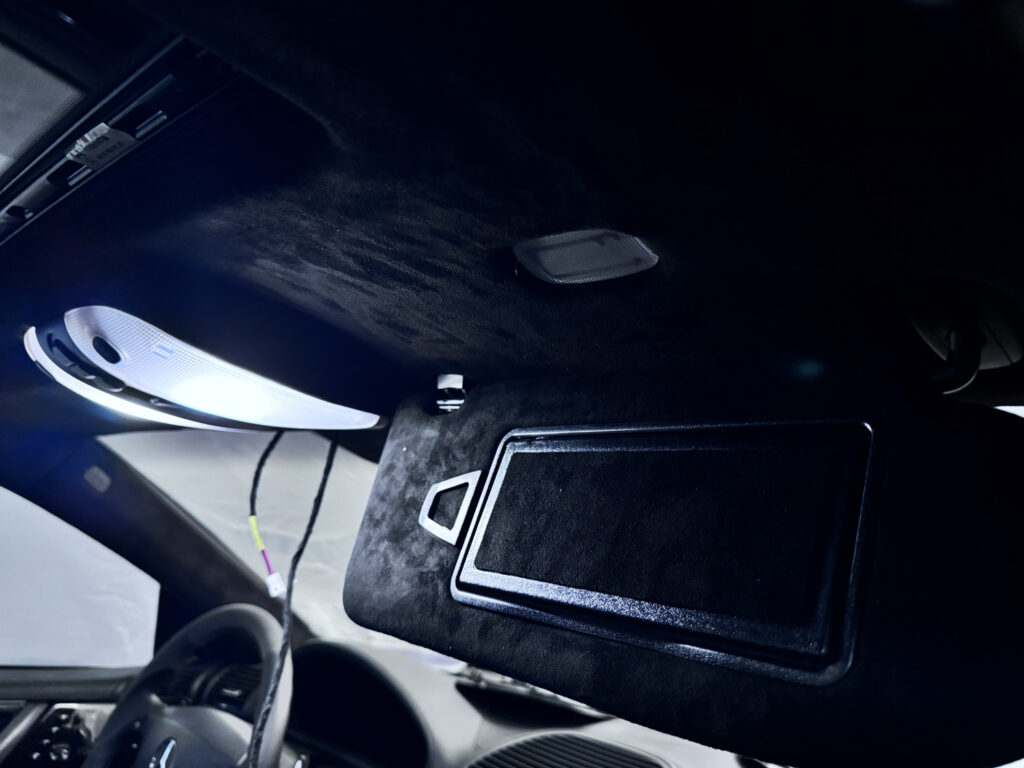
We started with the largest piece, namely the headliner. Removing the old fabric was a breeze. Removing the old foam backing and glue, not so much. In case you’re wondering, yes, you have to remove the old glue, otherwise the new adhesive will not stick properly, and you will not be achieving much.
Thankfully you have a choice of fabrics, and imitation Alcantara has reached a level of quality very similar to the original, at least visually. We used a foam backed version, that was slightly stretchable. The results were great. 3M Headliner adhesive is our glue of choice. It works much better than the community loved WeldWood and is much easier to work with. The downside is the price, which adds up quickly. The headliner alone takes at least 2 cans.
The Fun Part
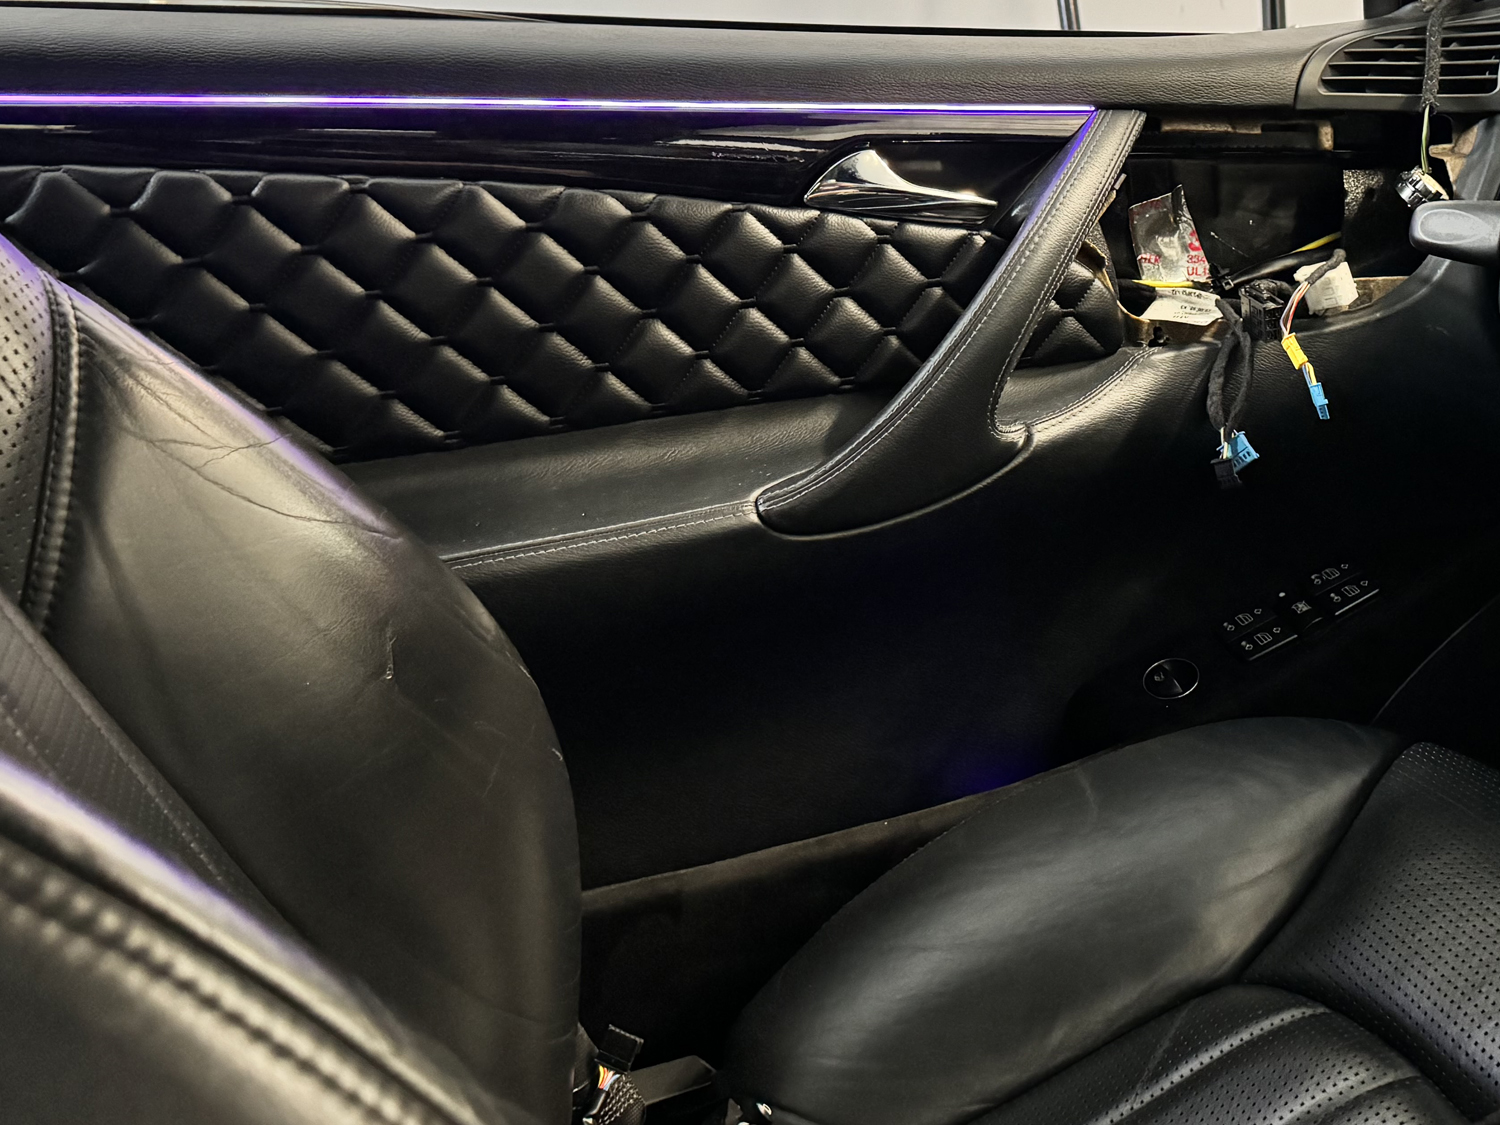
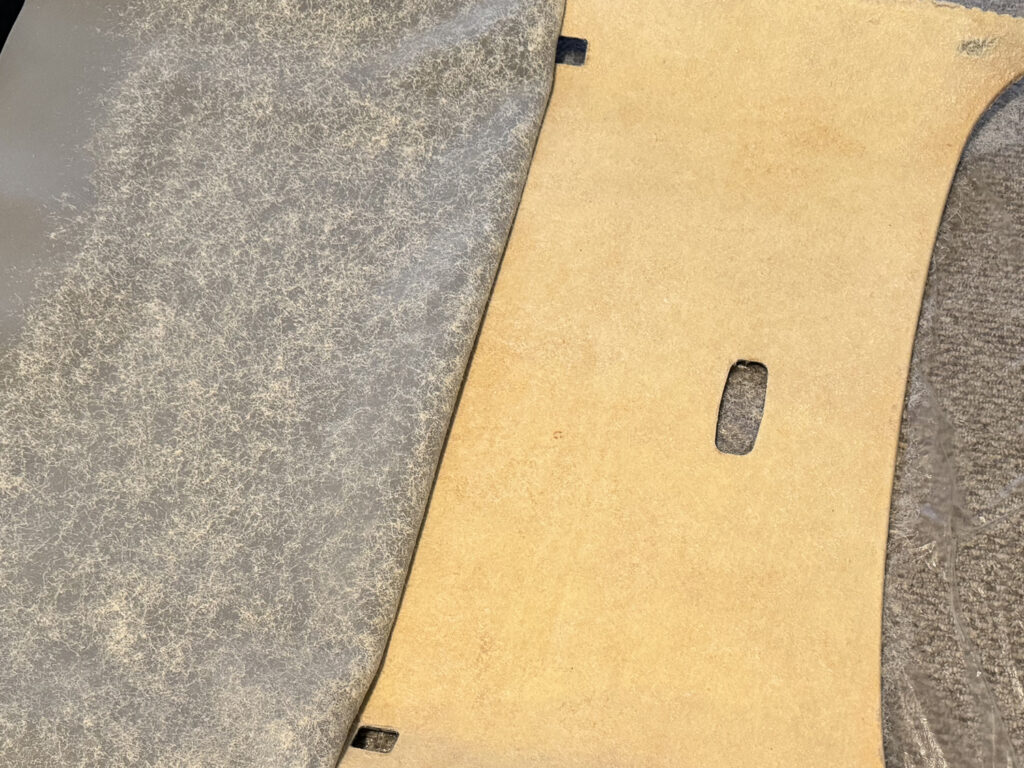
We’ve avoided it as long as possible, now let’s tackle the fun part. The lower part of the door panels, right next to the speakers is wrapped in a black, non-descript fabric from the factory. We wanted to wrap this in our headliner fabric, in the front as well as in the back. Unfortunately, removing the old glue was a multiple day ordeal. We wanted to preserve the plastic as much as possible so we stayed away from super harsh chemicals. We also heard a rumor that lighter fluid might work, but we decided not to set the neighborhood on fire.
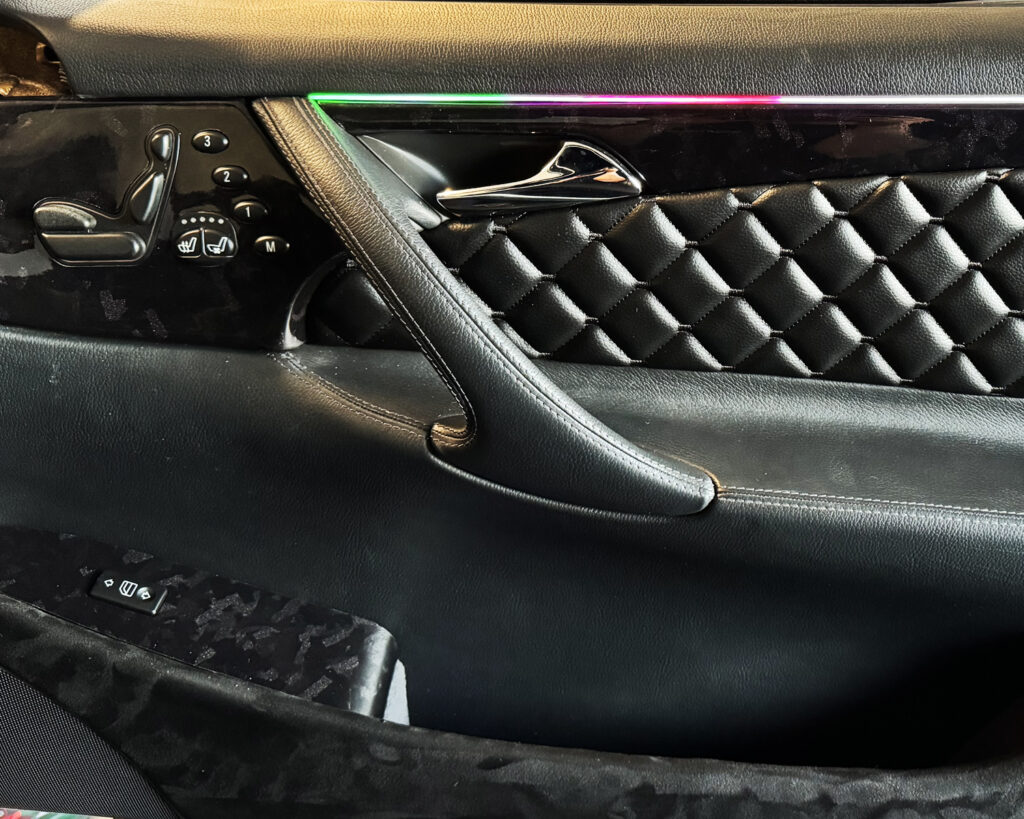
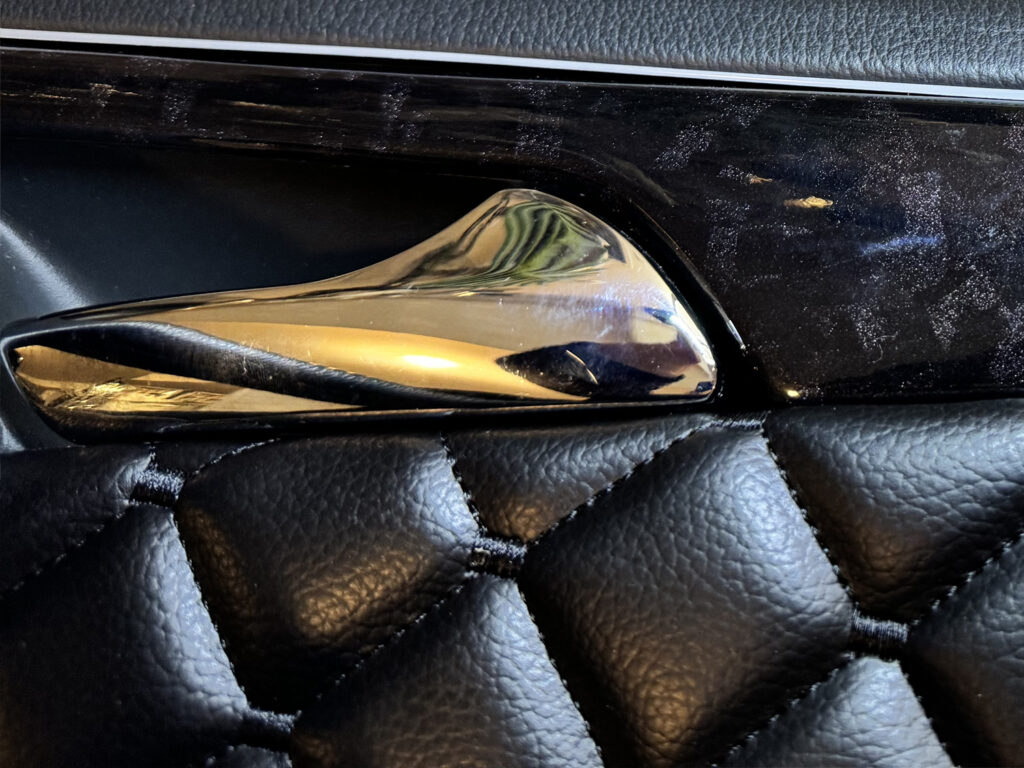
In the end we managed to get all the old glue off and wrap the panels in new fabric. The results were great. The middle/accent panels got a different look, which will match the floor mats that we will install in the future. All wood trim was wrapped in a carbon vinyl to bring everything together.
Fixing Plastics
Pistic ages and breaks, inevitably. Unfortunately, our car had seen a lot of sun so some of the interior plastics were in bad shape. Some parts were replaced, like the speaker grilles, which were missing tabs. Other random tabs, pegs and other random shapes were measured, designed, 3D printed and glued in palce. This was a very tedious and time consuming, albeit rewarding project.
Other mounting surfaces were fixed with the help of a 3D printing pen and ABS. You can fill in the gaps or completely retrace a missing piece, then fill with your favorite epoxy or superglue/resin. The results are great and probably stronger than the original. Saves money and time.

What Now?
Those LEDs you were ignoring before…We’re going to put those in.