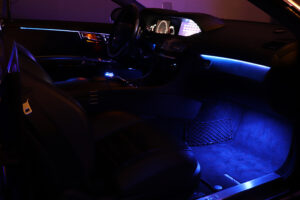
You would think throwing some LEDs in your vehicle would be a rather simple affair…However, if you are trying to fully integrate it, things get exponentially more complicated.
Picking the correct components will be based on the approach you choose and the scope of your project. In our case, we wanted things to be future proof so going with Bluetooth and Android based apps was a no brainer. More and more headunits (even stock) are based on Android nowadays.
Picking a Control Method
How will you control your project? A few options come to mind here, some better than others:
- CAN Bus control: You could try to have your project connect to the canbus of the car and make use of existing buttons. This is probably the worst approach, as it requires extra hardware/coding and is generally confusing as you will be duplicating the functions of certain buttons. Press this button for 5 seconds then these other 2 in quick succession to increase brightness. No thanks!
- Included Hardware: You could use a remote control to control your project, which is better than the canbus approach but also not ideal. You don’t want to be fumbling for a remote while you’re driving. Also, you’d be using the same remote as that 5$ LED strip from Walmart so you know…not exactly high end.
- USB Control: If you have a headunit that can have apps installed on it, you could go crazy and make your own USB driver and simply plug your project in. Yes, you’d have to develop your own app in addition to the driver so this would definitely be the long way around.
- Bluetooth/BLE: This is the best approach, if you ask us. You skip the driver approach and you minimize the amount of wires. Yes, you still have to make your own app but the driver framework will be provided by Bluetooth.
Picking a Microcontroller
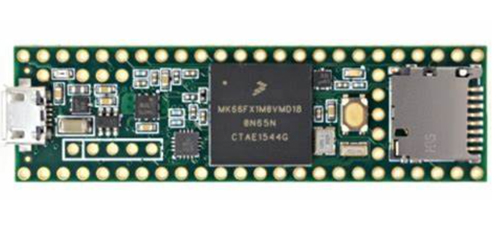
The brain of the whole operation is the most important part of the project. There are many options you could go with but, at a basic level, the decision you have to make is based on cost, quality and expandability. Sure, you could pick something small that is barely enough for your project, or you could go with something more expensive that offers more features and expandability for future additions. Some of the popular choices are Arduino, Teensy, Adafruit (many different choices here) and many many others. Or advice is don’t skimp on the microcontroller. Whatever you pick, make sure it has components rated to work in car environments (wide temperature swings). That 4.99$ controller will not have components that will take kindly to winter/summer extreme weather, simply because quality components cost more.
Bluetooth and BLE
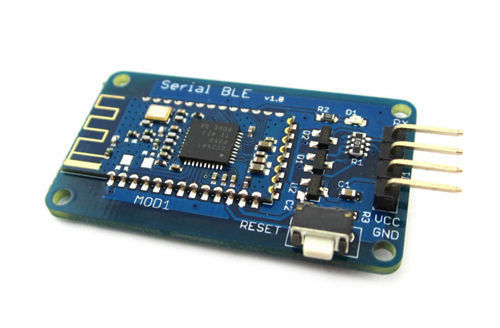
BLE – a dialed down version of Bluetooth that offers quicker connection times, lower power consumption and a shorter range. It’s perfect for quick bursts of data transfers, such as command/controls from an Android headunit to an LED controller. In essence, we need something that creates an encrypted connection in the car and connects very quickly….and is customizable. Thankfully we have many microcontroller and standalone choices.
Built in or Additional Module
The next choice relates to the microcontroller, again. There are many microcontrollers that offer built in BLE. They would be an optimal choice. However, if you are dead set on something without built in BLE, there are many external modules that can be used. These modules would connect via SPI/I2C. It would be a little extra work, but nothing monumental. Nordic Semiconductor based devices seem to enjoy a lot of support from the community so going with one of those modules would probably be beneficial.
Memory Considerations
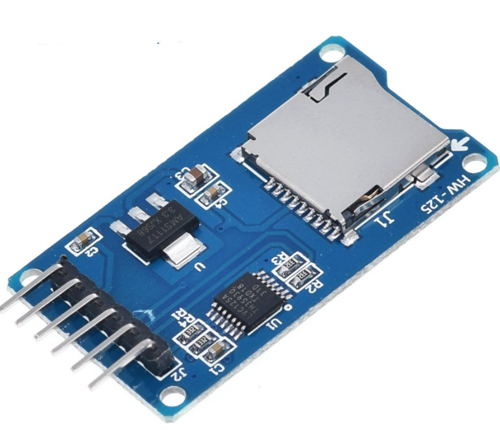
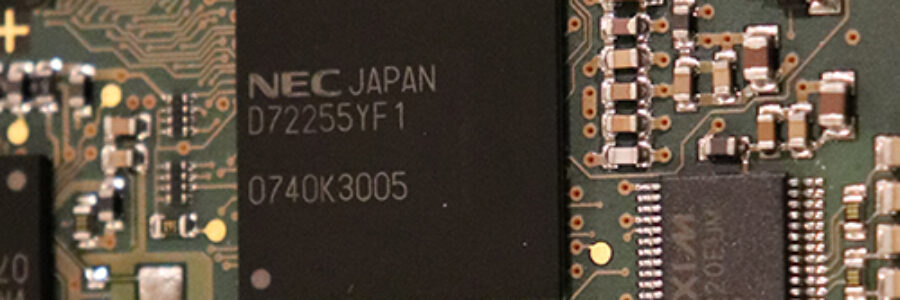
Ideally you will save your settings so your system picks up where you left off when you turn the car on and off. Thankfully most microcontrollers come with some sort of built in memory. However, this memory is not meant to be overwritten too many times and it’s better to have a complementary memory module to save settings. External modules are usually designed to be used more extensively than the built in microcontroller flash. Of course, you can implement some wear leveling in your code but it’s easier to slap on an external module.
Power Considerations
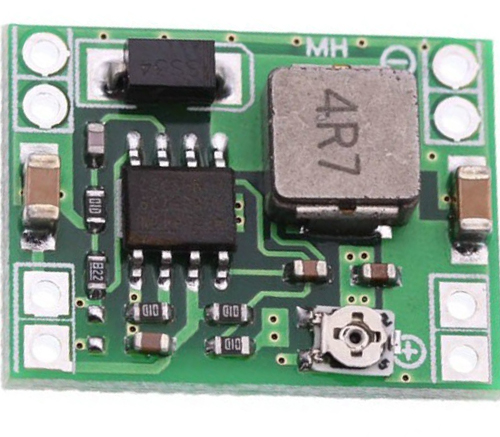
Last but definitely not least, you need to power your project properly. The basic idea is that you would tap an existing fuse to power your project. Based on your microcontroller and LEDs you will probably need a variety of voltages, most likely 3.3V, 5V, and 12V. There are many voltage converters available. Picking one that runs cool and can handle a lot of current, or at least enough for your project, should be your top priority. Converters based on MP1584 seem to fit the bill well and are cheap and widely available. Be sure to check your current draw and plan accordingly. If a converter can handle 3A of current that doesn’t mean you get to run it at 3A continuously.


