
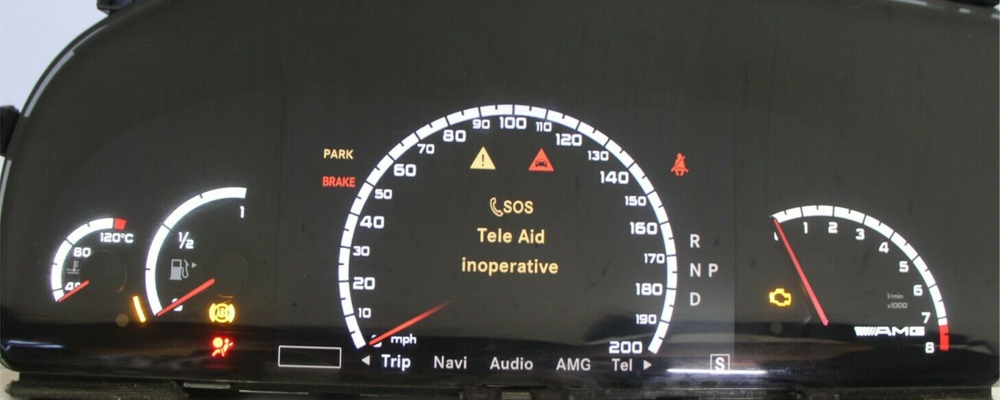
One of the most important components in a vehicle is the instrument cluster. It displays everything you, as the driver, need to know and, in many cases, lets you adjust a variety of car parameters. This means that, software and hardware wise, the instrument cluster is also one of the most complicated components in a car. So, why attempt to modify/rebuild something that already works as intended? Let’s take a look.
Cars have made many strides over the years. Reliability, power, comfort, entertainment have all improved incrementally to what cars have to offer nowadays. However, the largest improvements have happened on the electronics and entertainment front. Large navigation screens, digital instrument clusters, smarter head up displays are starting to become more and more common. Sure, cars are faster and handle better but, generally, these improvements have zero impact on our car experience which, most of the time, is limited to sitting in traffic and barely doing the speed limit. However, being able to display a map directly in front of you on the instrument cluster or head up display, dramatically changes you car experience, sitting in traffic or not. So, we think it’s a worthy upgrade.
Getting Started
This project will be fairly complex and not for the faint of heart. However, we can keep difficulty in check by breaking up the project into smaller, more manageable parts and systematically executing them. So, where do we start?
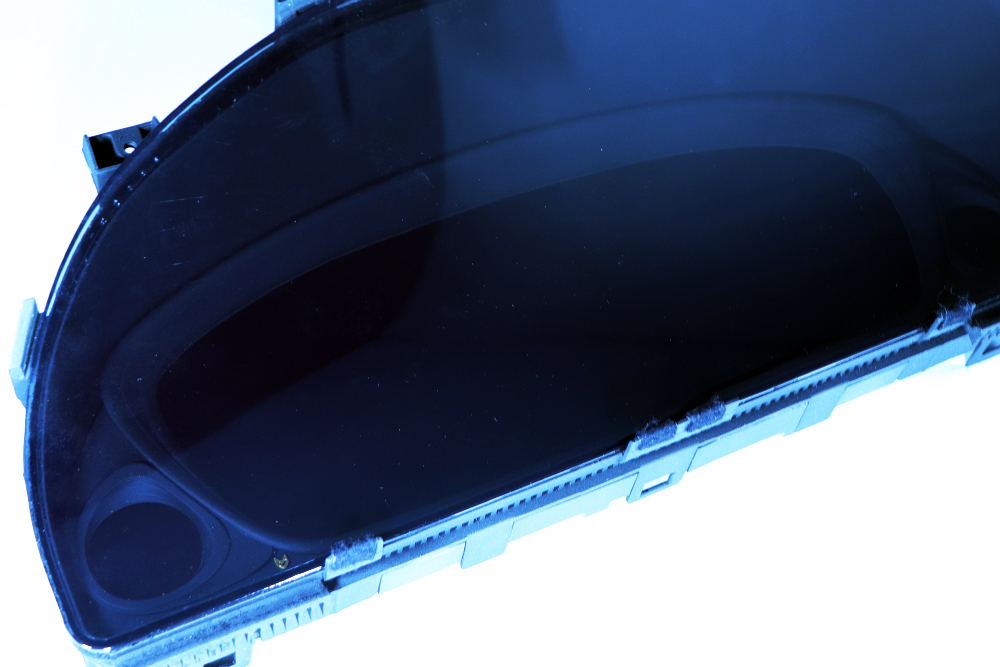
Physical Considerations
We need to make sure we have the physical space to implement our mods, before we can even get started. It would be a shame to realize that we would need to chop a chunk out of the dashboard, halfway throughout the project, wouldn’t it. In our case, the instrument cluster in question, already has a display in it, albeit a smaller one, along with several analog gauges. Looks cool, but we can do better. So, in this aspect, we are lucky that we have plenty of room to work with. If you don’t have the physical room to install a fairly large screen, our advice is to forget about the project. Analog gauges will look better, and function better, than a small, low res screen. Speaking of screens, what are our options?
Picking a Screen
LCD/OLED screens are pretty common nowadays so, finding one should be pretty easy right? No, not really. We need a display with a relatively strange aspect ratio. Our choices are quite limited. The technical aspects of the display will limit our choices even further. So, what should we look for in an instrument cluster display?
Resolution
We could probably get by with a lower res, 720p display, but we suggest going for 1080p at least. In the case of automotive displays, the resolution would be 1920×720, due to the strange wide aspect ratio.
Brightness
We need a display that has very high brightness, unlike an indoor only use display. Anywhere from 800-1000 nits should do. Anything lower than that and we’re asking for trouble in direct sunlight. Your setup might be different, so you may be able to use a dimmer display, if the instrument cluster is adequately shielded from the sun.
Viewing Angles
One could argue that you only look at an instrument cluster head on but, we beg to differ. The larger the viewing angles the better. What’s a viewing angle? The number of degrees from the head on position (center axis) you can move before the image on the display becomes degraded/invisible. In our case, we went with a display that has 85 degrees from all directions so, pretty good.
Temperature Range
Many OEM manufacturers have been guilty of this in the past, namely using displays that are not rated for hot/cold weather. This manifests in a variety of ways, including sluggish, dim, washed out displays in temperature extremes. We recommend a display that operates between -30C and 85C. Anything outside this range and you will see negative impacts at one point or another.
Video Interface
Having the perfect display is completely useless if we do not have a driver board that can handle our display. This is easily the hardest aspect of picking a display. There are many video standards, some completely proprietary so, before even considering a certain display, make sure the manufacturer/vendor can offer a driver board for that specific display. In addition, the firmware on the board needs to be easily customizable, to avoid on-screen displays and be feature rich to allow us to rotate our display, adjust brightness, etc.
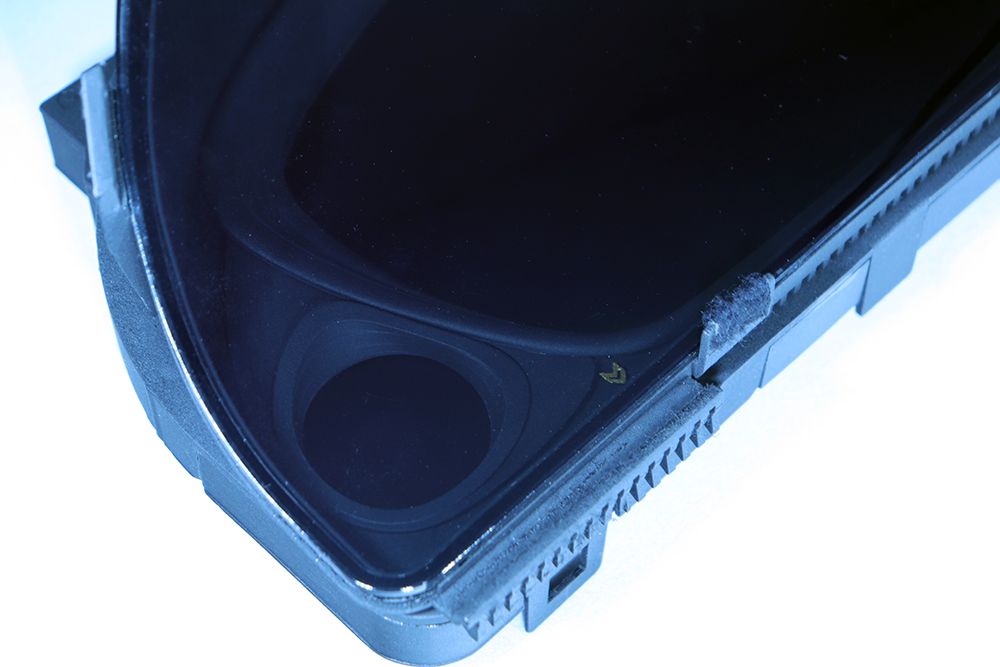
3D Printing a New Bezel
Yes, picking a display gave us a headache as well, so we decided to do something fun. We designed a new bezel for our new display using 3DStudioMax. We then used an ABS like resin in our large scale SLA printer to bring our new design to life. Once printed, the piece was painted with a flat black paint, using our proprietary (patent not pending) gritty technique. This means that the surface texture is very matte and rough, reflecting as little light as possible.

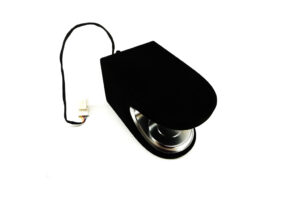
3 Displays?
We were left with considerable gaps on both sides of our new display. Sure, we could easily fill them in but, why not add more displays to the mix? We decided to add 2 additional round displays, one on each side. These displays will be driven by microcontrollers, more on that later.
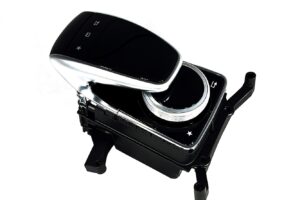
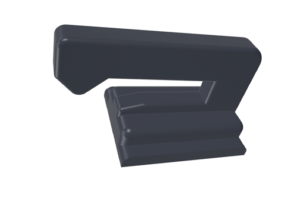
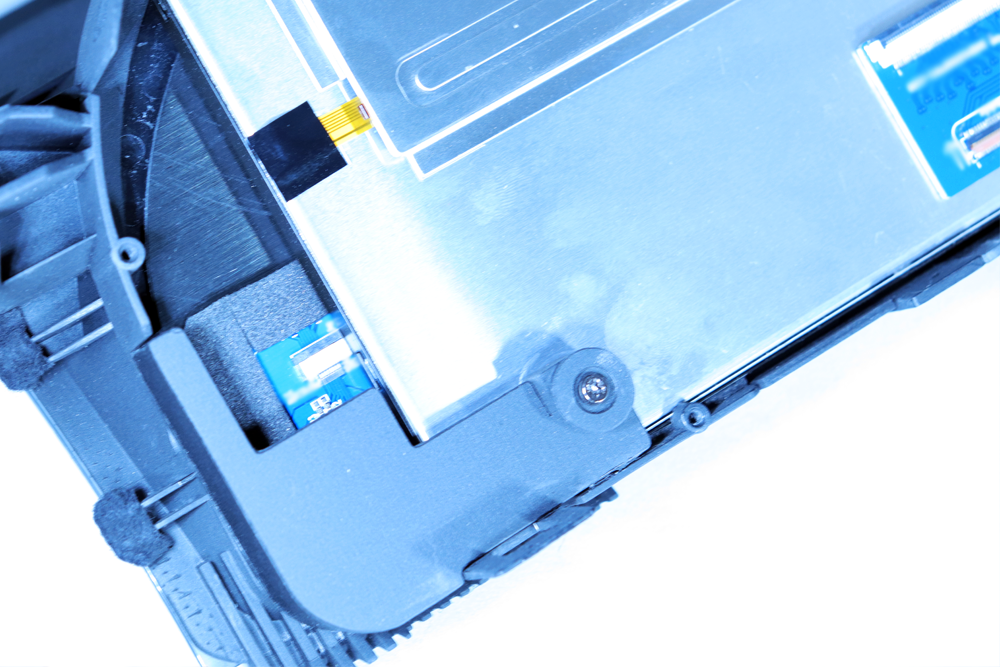
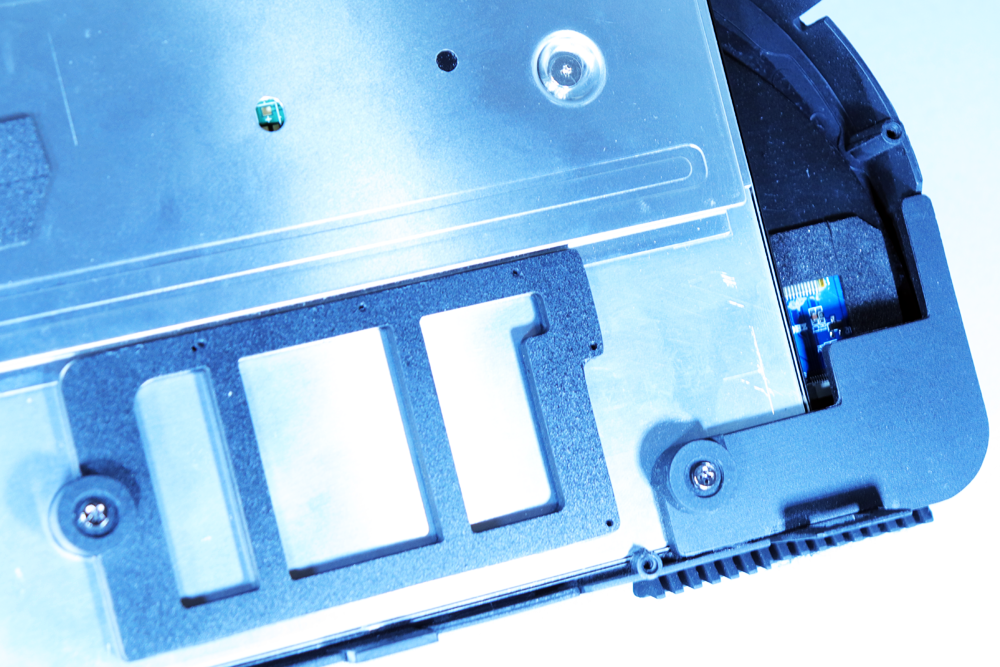
Taking Everything Apart
Inevitably, our creation will have to be disassembled. Cleaning and replacing components are just two of the reasons this might become necessary. So, our design needs to fit the existing cluster, and easily come apart. Keeping this in mind we 3D printed a myriad of assemblies and brackets that makes assembling/disassembling everything a breeze. Here’s a look behind the scenes at the display assembly with the custom designed mounts and driver board bracket (waiting for the driver board to be installed).
Stay tuned for the next entry, when we will do more 3D printing, cutting and modding to wrangle everything into the existing instrument cluster case.