
Picking up where we left off, let’s finalize the physical aspects of our new and improved controller. One of the issues of the new setup is that the leather wrapped piece (what Mercedes calls palm rest) surrounding the controller will have to be modified. The hole needs to be much larger. Unfortunately, this means we have to carefully try to remove the leather from the existing piece and trim the plastic. When that’s done we need to cut and re-glue the leather back in place and deal with any gaps that we may have created.
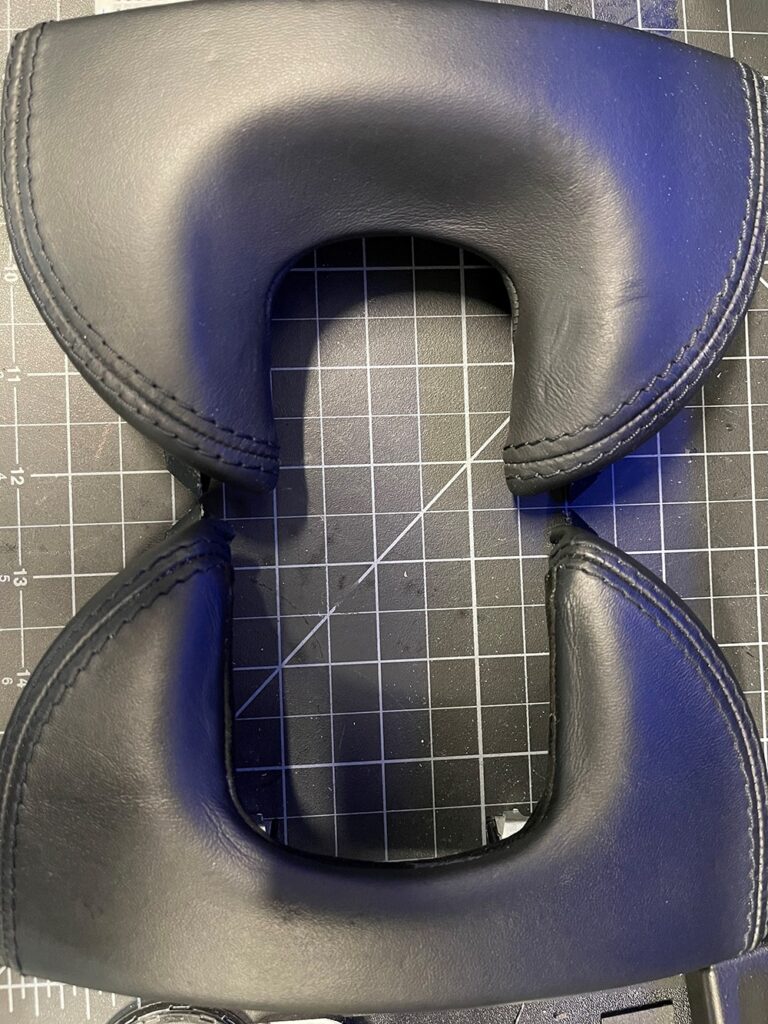
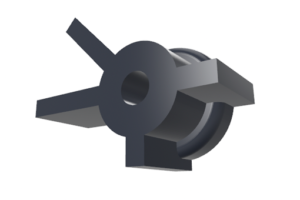
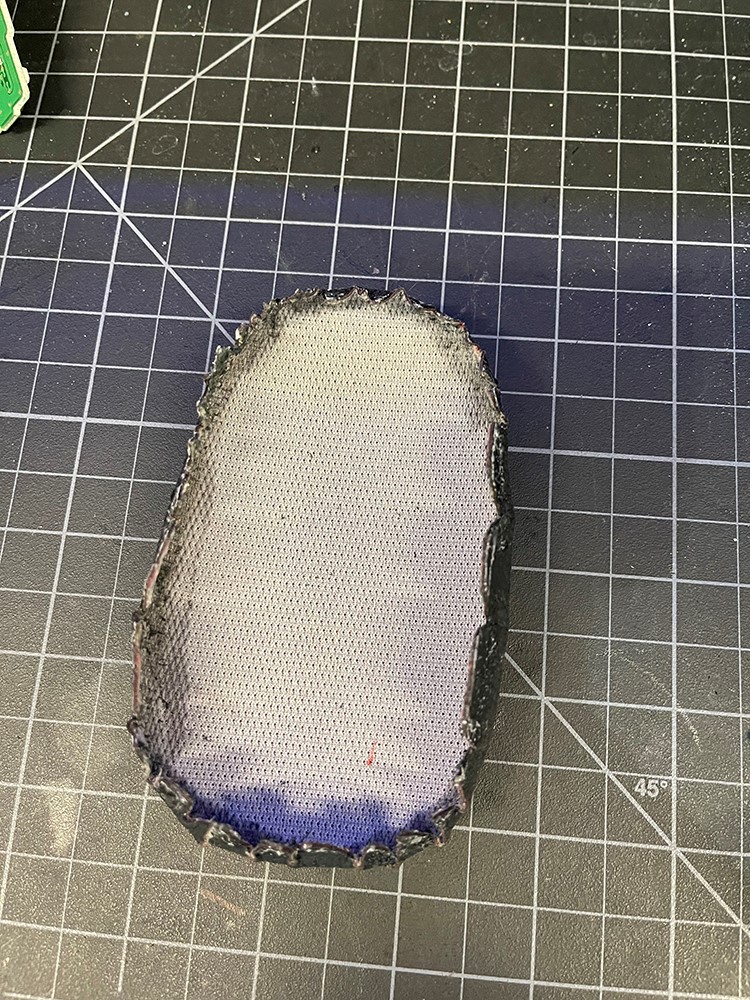
Working backwards, as you can see in the image above the hole for the controller needs to be dramatically increased. Here’s how we did it.
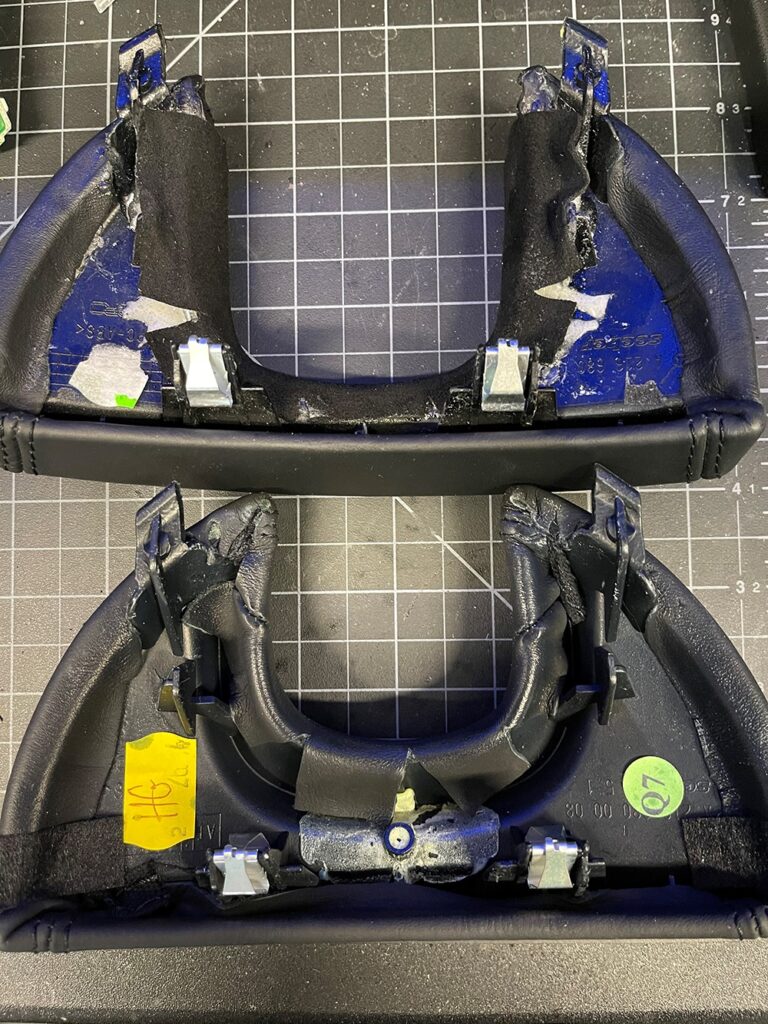
First, make all necessary cuts after carefully removing the leather. No need to unwrap the entire piece, just enough to make our adjustments. Some heat may help to loosen the old glue. Applying some leather conditioner before starting work is advised to avoid any creases in the leather.
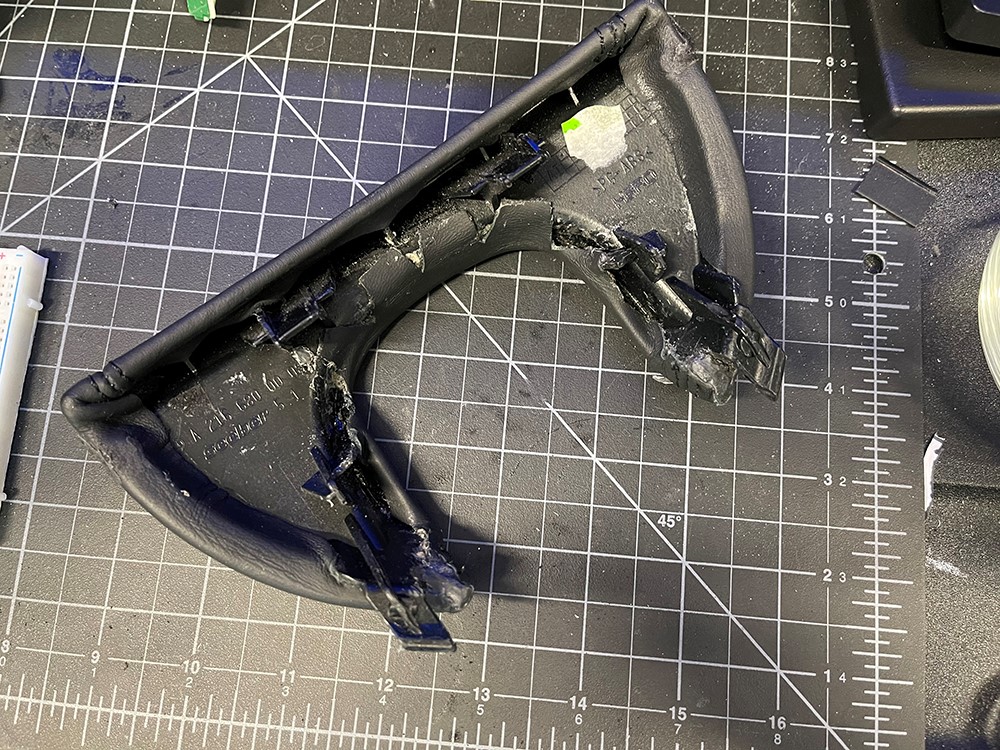
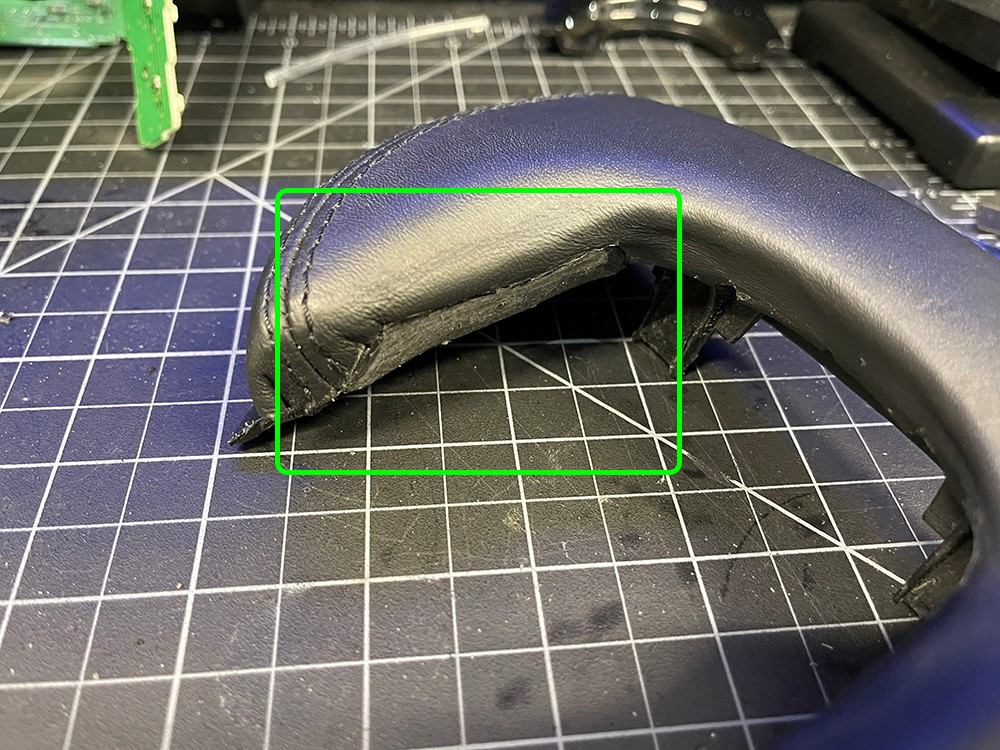
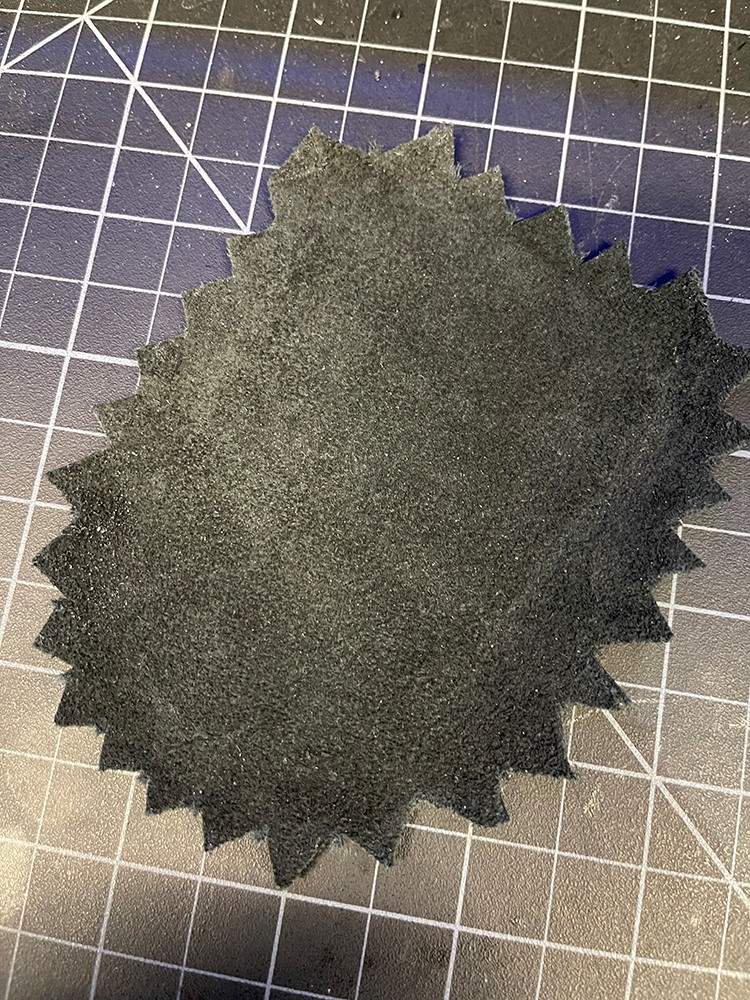
Unfortunately we created some gaps in coverage on the sides so we need to fill those back. Time to tap into our creative side and add some new plastic. Our tool of choice was a 3D pen, which made the job a breeze. A little sanding and the gaps are gone. Don’t worry about the finish as the newly added plastic will be trimmed in Alcantara.
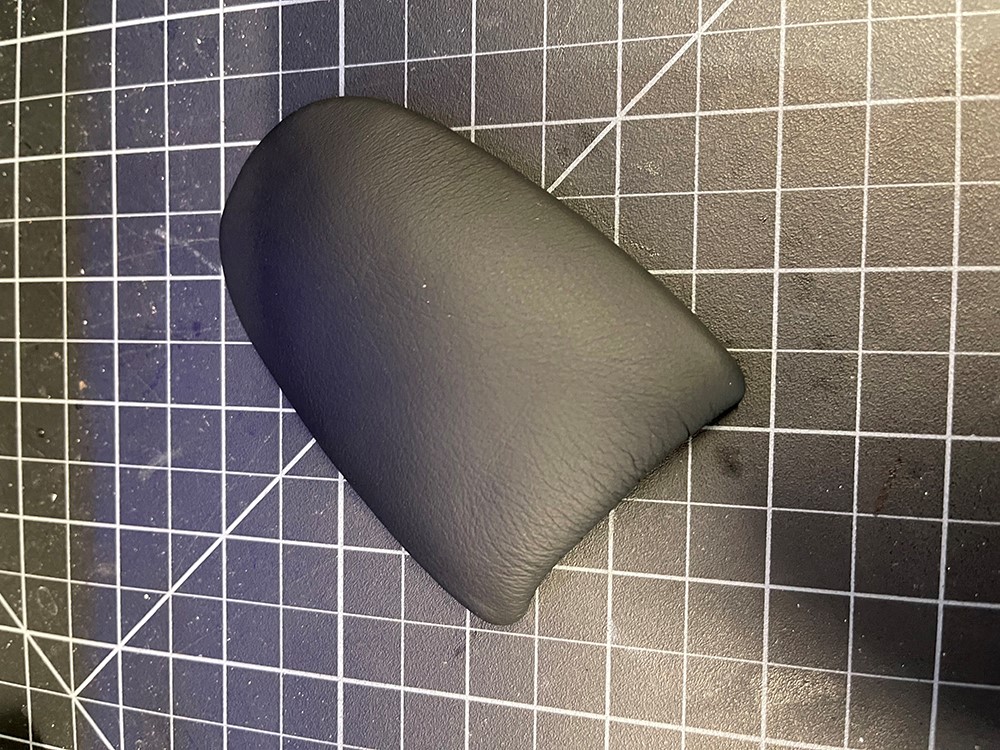
Once that was done we gave it some epoxy backing and finished it with the Alcantara trim. Here it is with a stock piece for reference.
Adding Another Palm Rest
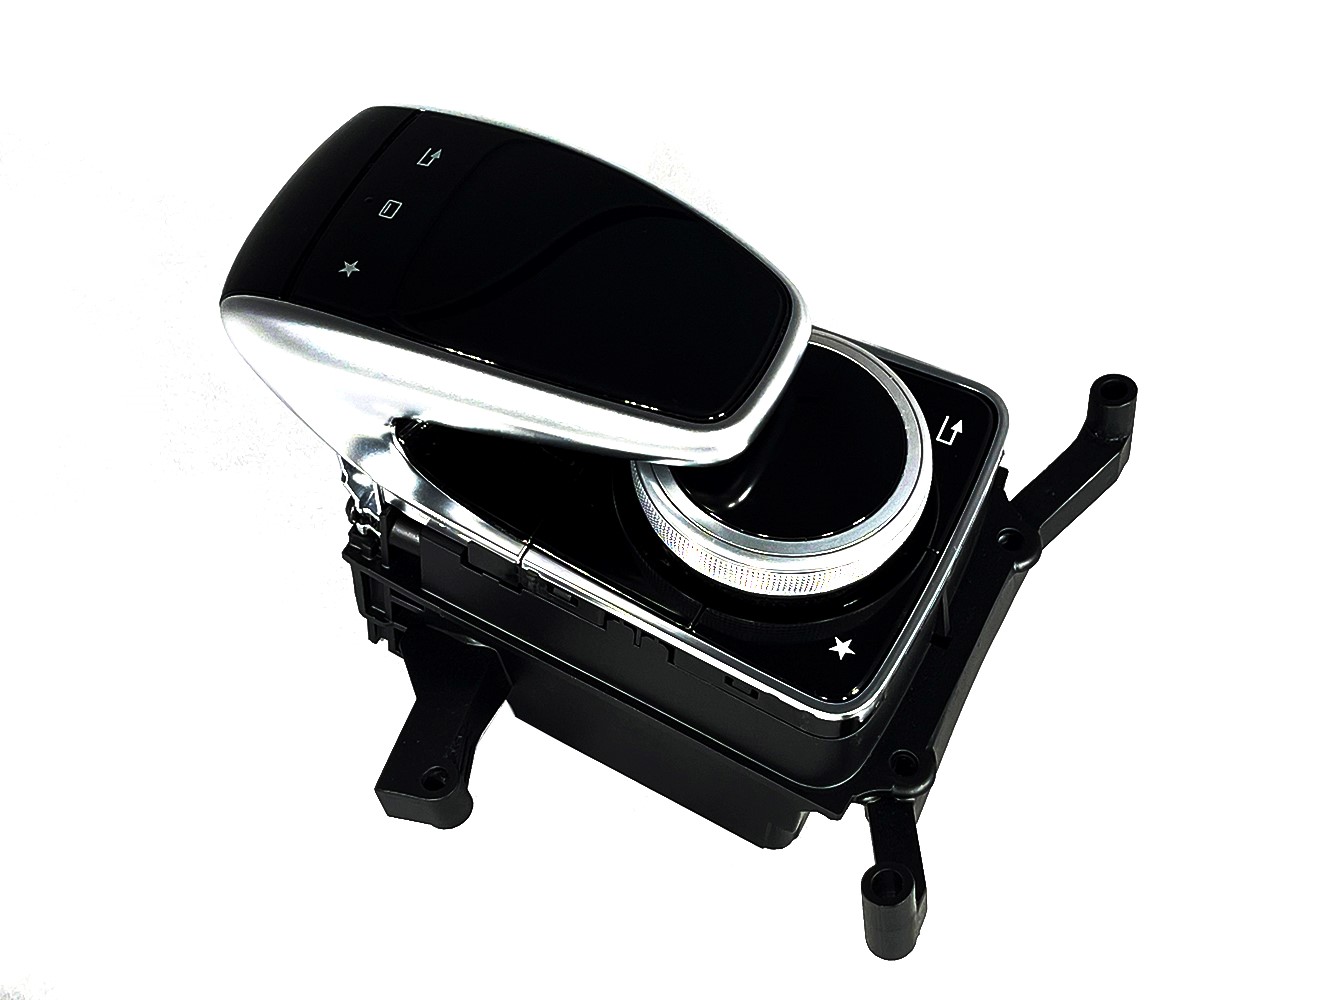
Ergonomics are just as important as visuals so we decided to add another palm rest on top of the original palm rest to make things more comfortable. The good news is that we can modify the stock keypad cover and adapt it to our purposes. However, we decided to buy a third party cover and not mess up the original. If you ever wondered what the difference is between Chinese “leather” and actual Mercedes OEM leather let’s take a look.
The process is fairly straight forward and it involves cutting the plastic piece underneath the leather to size and shape, followed by wrapping it in Mercedes OEM leather. Here is a shot of the finished top piece.
The bottom piece of our new palm rest will serve as a convenient way to conceal the leather trimming on the bottom. Let’s wrap the bottom piece in Alcantara for a nice contrast – just like the other palm rest.

It’s important to have it look good as part of it will be visible when the center console storage is accessed. We used some epoxy to glue the 2 pieces together and this part of the project is done.
Making Room
The other elephant in the room that we need to address is how all this new stuff will fit in the car. Our newly finished touchpad/knob combo definitely will not fit in the tiny gap or even mount in the same way.
There is no way around it, lots of trimming will ne necessary of the center console to accommodate our new parts. The good news is that it’s just plastic with no real purpose so we can adapt it to our needs. However, before we go to town on the center console interior we need to decide what the role of the stock W216 Comand knob will be in the final solution. The electronics for that piece also control all the other buttons on the panel (volume, seats, etc.) which are clearly not available on our new piece. Our choices here will also determine our software solution and the rest of this project.
Stay tuned for part 3.